Introduction to Steaming Pudding Without a Steamer
Introduction to the Concept
Steaming pudding is a cherished technique for its ability to produce a moist and light dessert, a feat hard to achieve through baking. Traditionally, a steamer locks in moisture, ensuring the pudding stays soft and succulent. But what if you don’t own a steamer? No worries! You can still capture the essence of steaming with everyday kitchen items, proving that creativity can overcome any obstacle.
Preparing Your Pudding for Steaming
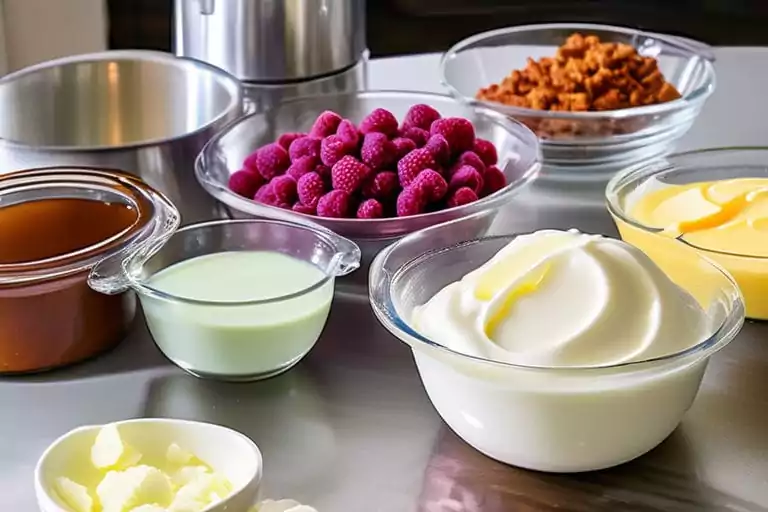
Before diving into the steaming methods, let’s prepare your pudding. Selecting the right ingredients is crucial as they need to withstand the steaming process without losing texture or flavor. Typically, a steamed pudding recipe involves a blend of flour, eggs, and fat—such as butter or suet—mixed with your choice of flavorings or add-ins like dried fruits or chocolate.
Choosing the Right Container
Lacking a traditional pudding basin or steamer mold isn’t a deal-breaker. Any oven-safe dish can be a great substitute, as long as it fits within your makeshift steaming setup. The trick is to make sure the container is well-greased to prevent sticking. If it doesn’t come with a lid, you’ll learn how to create a tight seal with common kitchen materials.
In this section, we’ve laid the foundation for steaming pudding without a steamer, emphasizing the importance of preparation and adaptability. Moving forward, we’ll dive into the various methods you can use to steam your pudding to perfection, ensuring a delightful dessert experience that’s both satisfying and impressively simple to achieve. Stay tuned as we explore the world of steamed puddings, where creativity meets tradition in the coziest corner of your kitchen.
Preparing Your Pudding for Steaming
Before we get into the nitty-gritty of steaming without a steamer, let’s ensure your pudding mix is ready to face the heat. The right prep can make all the difference between a pudding that’s a hit and one that’s a miss.
Selecting the Right Ingredients
First things first, picking the right ingredients is key. You want components that will hold up well under steam and meld together into that perfect, moist texture we all love. For most steamed puddings, this means starting with a solid base of flour and eggs, then adding fat like butter to bring richness and moisture. Don’t forget the leavening agents, like baking powder, to help your pudding rise beautifully.
Preparing the Pudding Mixture
Now, onto mixing. Combine your dry ingredients thoroughly before folding in the wet ones. This step ensures an even distribution, which is crucial for a uniform texture. If you’re adding extras like dried fruits or chocolate chips, coat them lightly in flour first. This little trick prevents them from sinking to the bottom during the steaming process.
Choosing the Right Container
Got no steamer mold? No problem! Look for any oven-safe bowl or dish that can withstand the steaming process. Glass, ceramic, or even metal can work, as long as you prepare it properly. Grease the inside generously with butter or oil to ensure your pudding releases smoothly once cooked. If your chosen container doesn’t come with a lid, you’ll need to improvise one with aluminum foil or parchment paper, but we’ll cover that in more detail in the next section.
With your ingredients mixed and your container prepped, you’re all set to move on to the actual steaming process. Remember, the goal here is to create an environment where your pudding can cook gently and evenly, turning those raw ingredients into a warm, comforting dessert that’s sure to impress. So, let’s steam ahead and discover the various methods you can use to steam your pudding to perfection, even without a traditional steamer.
Steaming Methods Without a Steamer
Now that your pudding mix is ready and waiting in its container, let’s explore the innovative ways you can steam it to perfection without needing a traditional steamer. Each method has its charm, so you might find yourself experimenting to see which one best suits your kitchen setup.
Using a Pot and Aluminum Foil
One of the simplest ways to steam pudding without a steamer involves just a pot, some water, and aluminum foil. Here’s how:
- Prepare the Pot: Fill a large pot with about an inch of water. Bring it to a simmer, not a boil, to ensure gentle cooking.
- Secure Your Pudding: Place your greased and filled pudding container in the center of a large piece of aluminum foil. Gather the edges of the foil up and around the container, twisting at the top to secure it. This makeshift lid will keep the steam in.
- Steam Away: Place a heatproof saucer or trivet at the bottom of the pot to elevate your pudding container above the water level. Carefully lower the container into the pot, cover with a lid, and let it steam according to your recipe’s timing.
Oven Steaming Technique
For those who prefer using the oven:
- Prep Your Oven: Preheat your oven to a low temperature, around 325°F (165°C), to mimic the gentle heat of steaming.
- Water Bath Setup: Place your covered pudding container in a deep baking dish. Pour hot water into the baking dish until it comes halfway up the sides of the pudding container.
- Bake to Steam: Carefully transfer the baking dish to the oven and let it “steam” in the oven’s moist environment. Check periodically to ensure the water hasn’t evaporated, adding more as needed.
Slow Cooker Method
A slow cooker can also serve as an excellent steamer:
- Prepare Your Slow Cooker: Place your covered pudding container in the slow cooker. Pour hot water around the container until it reaches halfway up the sides.
- Cook on Low: Set your slow cooker to low and let the pudding steam for several hours. The exact time will depend on your slow cooker model and the size of your pudding.
Microwave Steaming
For a quick steaming method:
- Microwave-Safe Container: Ensure your pudding container is microwave-safe. Cover it with microwave-safe plastic wrap, poking a few holes in the top to allow steam to escape.
- Short Bursts of Power: Cook your pudding on medium power in two-minute bursts, checking for doneness between intervals. This method is best for smaller, individual puddings.
Each of these methods offers a unique way to steam pudding without a traditional steamer, ensuring that no matter your kitchen setup, a delicious, moist pudding is within reach. Next, we’ll share some expert tips to guarantee your steamed pudding is nothing short of perfect, every single time.
Tips for Perfect Steamed Pudding
Achieving the perfect steamed pudding without a traditional steamer is entirely possible with a few expert tips up your sleeve. Here’s how you can ensure your dessert turns out moist, flavorful, and with just the right texture, every single time.
Ensuring Even Cooking
- Rotate for Uniform Heat: If you’re using the oven or slow cooker method, consider rotating your pudding halfway through the cooking time. This simple step can help promote even cooking, especially in ovens with hot spots.
- Check Water Levels: Regardless of the method, keeping an eye on the water level is crucial. If the water evaporates too much, your pudding could end up dry or, worse, burnt. Top up with boiling water as needed to maintain a steady steam.
Maintaining Moisture
- Seal It Tight: When preparing your pudding for steaming, make sure the aluminum foil or parchment paper creates a tight seal around the container. This step prevents steam from escaping, which is essential for a moist pudding.
- Don’t Overcook: Overcooking is the enemy of moisture. Start checking your pudding for doneness towards the lower end of the recommended cooking time. A skewer inserted into the center should come out clean, or with a few moist crumbs attached.
Presentation Tips
- Let It Rest: Once you remove your pudding from the steamer, give it a few minutes to rest. This resting period allows the pudding to firm up slightly, making it easier to unmold without falling apart.
- Warm Your Plate: Warm the plate you plan to unmold the pudding onto. A warm plate helps to keep the bottom of the pudding from cooling too quickly and becoming soggy.
For those looking to dive deeper into the world of puddings and desserts, consider exploring resources like BBC Good Food for a variety of steamed pudding recipes. Additionally, The Spruce Eats offers great tips on steaming techniques that can be applied beyond puddings, enriching your overall cooking skills.
In the next section, we’ll discuss the best ways to serve and store your steamed pudding, ensuring that your culinary creation remains as delightful on the table as it was fresh out of the steamer. Stay tuned for these final touches that will make your steamed pudding experience truly unforgettable.

Serving and Storing Steamed Pudding
After mastering the art of steaming pudding without a traditional steamer and ensuring it’s cooked to perfection, the final steps are serving and storing your culinary masterpiece. These tips will help you present your pudding in the best light and keep it delicious for days to come.
Serving Your Steamed Pudding
- Presentation is Key: A beautifully presented steamed pudding can make your dessert go from great to unforgettable. Consider garnishing with a sprinkle of powdered sugar, some fresh berries, or a dollop of cream to add color and texture.
- Sauce It Up: Many steamed puddings pair wonderfully with sauces. Whether it’s a rich chocolate sauce, a classic custard, or a tangy fruit coulis, adding a sauce can enhance the flavors and add moisture. Pour the sauce over the pudding right before serving to keep everything moist and delicious.