
I stumbled upon this bouncy ball recipe when searching for rainy day activities for my kids, and it instantly became a family favorite! As a mom who loves to bake and craft, I’m always on the lookout for fun, hands-on projects that don’t break the bank. Moreover, these homemade bouncy balls bring me back to my own childhood, reminding me of simple joys before screens dominated our lives. Furthermore, I love how this activity combines a bit of science with a whole lot of fun, teaching kids about polymers and chemical reactions while they create something they can actually play with afterward. Additionally, the look of wonder on their faces when they bounce their very own handmade creation for the first time is absolutely priceless!
Why You’ll Love This Recipe
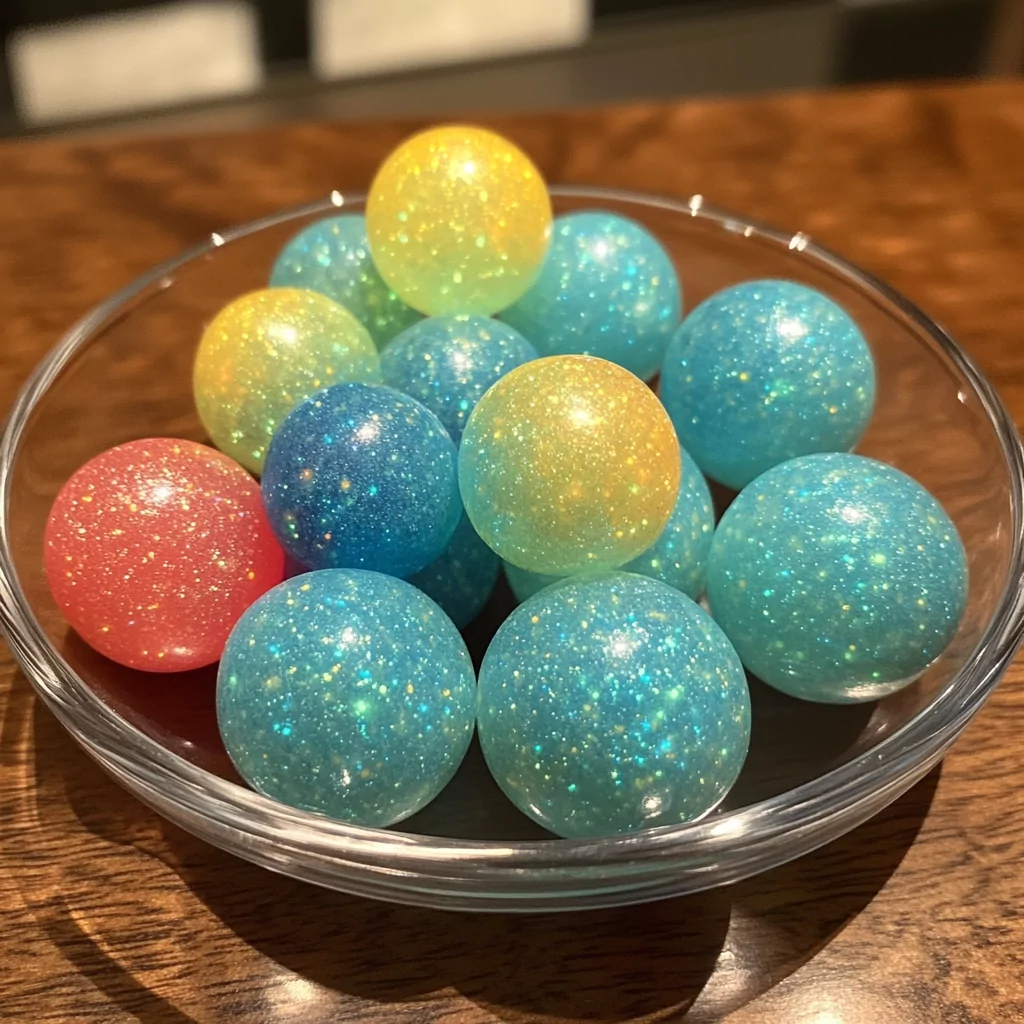
Versatile
These bouncy balls can be customized in countless ways! In fact, you can make them any color of the rainbow by changing the food coloring. Beyond that, add glitter for extra sparkle, or mix multiple colors for a swirled effect. Additionally, you can experiment with the amount of cornstarch to adjust the bounciness and texture to your preference.
Budget-Friendly
Using simple household ingredients makes this a cost-effective craft project. In other words, you probably already have most of these items in your pantry and craft supplies. Meanwhile, commercial bouncy balls can add up when buying for multiple children, but this recipe lets you make several balls for just pennies each. Subsequently, you’ll have plenty of material to make multiple batches whenever the mood strikes.
Ingredients for Super Bouncy Balls:
- 1 cup warm water
- 1 tablespoon borax powder
- 1/2 cup cornstarch
- 1/2 cup white liquid glue
- Food coloring of your choice
- Glitter (optional)
How to Make DIY Super Bouncy Balls
Step-by-Step Instructions for Making
First, gather all your ingredients in one place to make the process smooth. Next, find a clean workspace where you can get a little messy. Then, prepare two medium-sized bowls for mixing the different components. After that, measure your ingredients carefully for the best results.
To begin, pour 1 cup of warm water into one of your bowls. Subsequently, add 1 tablespoon of borax powder to the water. Then, stir continuously until the powder completely dissolves. Meanwhile, in your second bowl, measure and add 1/2 cup cornstarch and 1/2 cup white liquid glue. Furthermore, add several drops of food coloring to achieve your desired shade. Additionally, if you’re using glitter, now is the time to sprinkle it in.
Next, thoroughly mix the cornstarch-glue mixture until the color is evenly distributed. Afterward, slowly pour the borax solution into the colored mixture while stirring continuously. Consequently, you’ll notice the mixture beginning to thicken almost immediately. Therefore, keep stirring until it becomes quite difficult to move your spoon through the mixture.
Once it becomes too thick to stir, then take the mixture out of the bowl. Finally, knead the mixture with your hands until it forms a cohesive ball. In contrast to store-bought bouncy balls, yours might feel a bit sticky at first. However, the more you knead it, the more it will firm up. Besides, this kneading process is crucial for achieving the perfect bounce!
Quick and Easy
From start to finish, this project takes less than 30 minutes! Initially, it might seem complicated, but once you try it, you’ll see how simple it really is. Consequently, it’s perfect for those moments when you need a quick activity to entertain restless children. Moreover, the preparation is minimal, and cleanup is straightforward if you cover your workspace beforehand.
Customizable
Beyond colors and glitter, you can experiment with different ratios of ingredients. For instance, adding more cornstarch creates a firmer ball with a higher bounce. Conversely, more glue makes a softer, squishier ball. Additionally, you can make balls of different sizes – from tiny marbles to larger handball-sized creations. Furthermore, these bouncy balls make fantastic personalized party favors or gifts for classmates.
Crowd-Pleasing
Children of all ages love making and playing with these bouncy balls! In fact, even adults find the process satisfying and the resulting toy addictively fun to bounce. Meanwhile, the simple science behind the craft provides an educational element that teachers and parents appreciate. Additionally, it’s an inclusive activity where everyone can participate regardless of artistic ability. Consequently, it’s perfect for playdates, birthday parties, or classroom activities.
Print
DIY Super Bouncy Balls: A Fun Craft for All Ages!
- Total Time: 10 minutes
- Yield: 1-2 bouncy balls 1x
Description
A fun, science-based craft project that creates bouncy balls using simple household ingredients. Perfect for kids’ activities, rainy days, or homemade gifts. These colorful, customizable balls provide both entertainment and a hands-on learning experience about polymers and chemical reactions.
Ingredients
- 1 cup warm water
- 1 tablespoon borax powder
- 1/2 cup cornstarch
- 1/2 cup white liquid glue
- Food coloring of your choice
- Glitter (optional)
Instructions
- Pour 1 cup of warm water into a bowl.
- Add 1 tablespoon of borax powder to the water and stir until completely dissolved.
- In a separate bowl, combine 1/2 cup cornstarch and 1/2 cup white liquid glue.
- Add your desired amount of food coloring to the cornstarch-glue mixture.
- If using glitter, add it to the cornstarch-glue mixture.
- Mix the cornstarch-glue mixture thoroughly until the color is evenly distributed.
- Slowly pour the borax solution into the colored mixture while stirring continuously.
- Continue stirring as the mixture thickens until it becomes difficult to stir.
- Remove the mixture from the bowl and begin kneading with your hands.
- Knead thoroughly until the mixture forms a cohesive ball.
- Continue kneading until the ball firms up and becomes less sticky.
- Shape into a round ball and let it sit for about 5 minutes before bouncing.
- For best results, bounce on hard surfaces like wood floors or concrete.
- Store in an airtight container when not in use to preserve moisture and bounciness.
Notes
- If the mixture is too sticky, add a small amount of cornstarch.
- If the mixture is too firm or crumbly, add a few drops of water or more glue.
- The balls may stain light-colored surfaces, so play with them in appropriate areas.
- Wash hands thoroughly after handling the bouncy balls, especially before eating.
- The science behind this craft involves polymer chains forming when the glue (a polymer) reacts with the borax solution (a cross-linker).
- Prep Time: 10 minutes
FAQs
How long do homemade bouncy balls last?
Homemade bouncy balls typically last about 1-2 weeks when stored properly. To extend their lifespan, therefore, store them in an airtight container when not in use. However, they might dry out eventually, so enjoy them while they’re fresh! Nevertheless, you can always make new ones when the old ones lose their bounce.
Are these bouncy balls safe for young children?
While the ingredients are non-toxic, these bouncy balls should be used under adult supervision for children under 3 years old. In particular, they could be a choking hazard for very young children. Additionally, borax should always be handled by adults during the mixing process. Finally, make sure children wash their hands after playing with the bouncy balls.
Can I use clear glue instead of white glue?
Yes! In fact, clear glue works wonderfully and creates transparent bouncy balls that look very similar to store-bought ones. Furthermore, when using clear glue with bright food coloring, your bouncy balls will have a beautiful translucent quality. Meanwhile, the process and measurements remain exactly the same.