
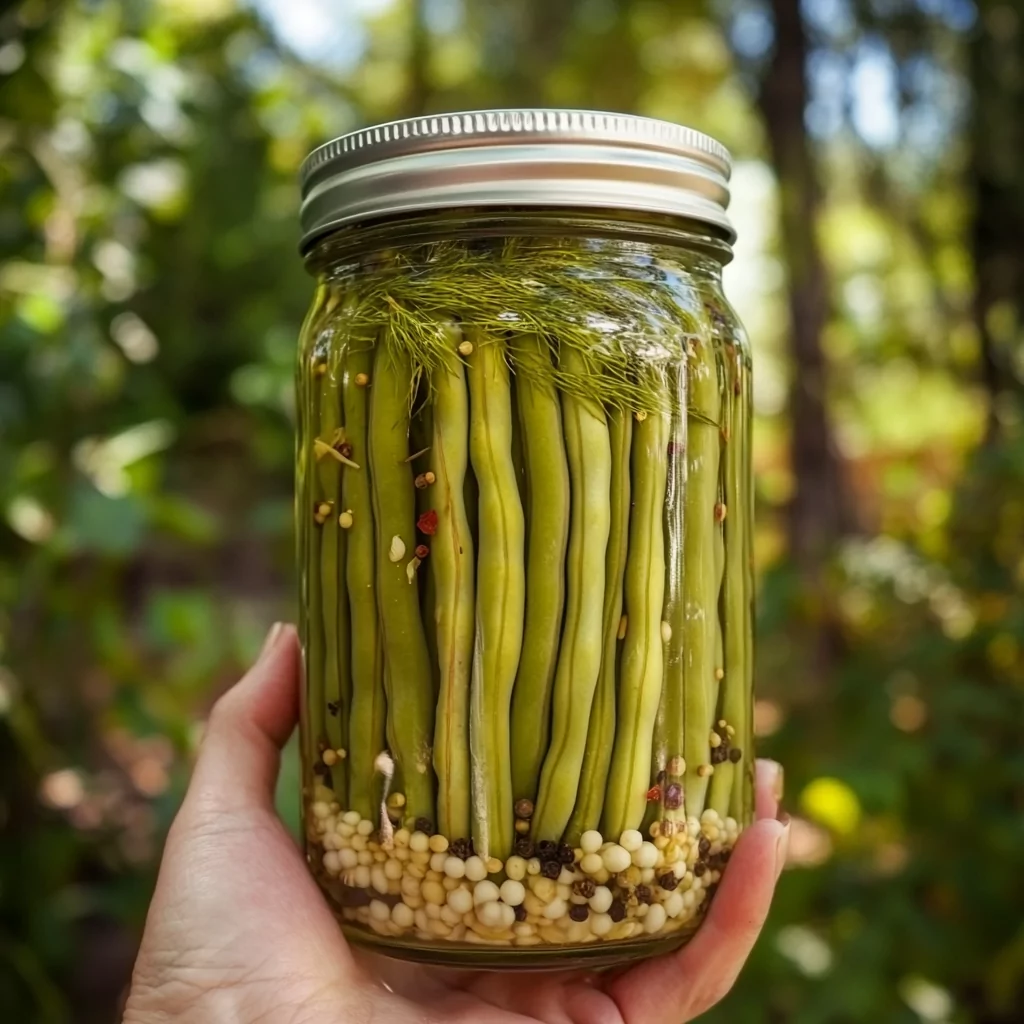
I love making homemade pickles, and Pickled Green Beans are one of my favorites! They’re crunchy, tangy, and packed with bold flavors from garlic, dill, mustard seeds, and a touch of spice. Whether you enjoy them as a snack, a side dish, or a garnish, these pickled green beans add a refreshing crunch to any meal. Plus, they’re incredibly easy to prepare and perfect for long-term storage.
Why You’ll Love This Recipe
This Pickled Green Beans recipe is simple, requiring only a few pantry staples and fresh green beans. The result? A crisp, flavorful, and slightly zesty treat that can be enjoyed year-round. The best part is that you can customize the flavors to your liking—whether you want them garlicky, spicy, or extra tangy.
The pickling process preserves the natural crunch of the green beans while infusing them with delicious flavors. The combination of vinegar, garlic, dill, mustard seeds, and black peppercorns gives them a balanced, aromatic taste that enhances their natural freshness.
Perfect for Any Occasion
Pickled green beans are versatile and can be served in so many ways. Enjoy them straight from the jar as a crunchy snack, toss them into salads for a tangy kick, or use them as a garnish for your favorite dishes. They even make a fantastic addition to charcuterie boards and appetizers, adding a pop of color and texture.
Ingredients for Pickled Green Beans
To make crisp and flavorful pickled green beans, you’ll need a few basic ingredients that come together to create the perfect balance of tangy, salty, and aromatic flavors.
- 1 pound fresh green beans – Washed and trimmed. Choose firm, bright green beans for the best texture.
- 2 cups white vinegar – The base for the pickling brine, adding acidity and tang.
- 2 cups water – Helps balance the vinegar, preventing the pickles from being too sharp.
- 2 tablespoons salt – Enhances the flavor and preserves the beans. Pickling salt or kosher salt is best.
- 4 cloves garlic, peeled – Adds a bold, aromatic taste.
- 2 teaspoons whole black peppercorns – Infuses a warm, slightly spicy flavor.
- 2 teaspoons dill seeds – A classic pickling spice that adds freshness.
- 2 teaspoons mustard seeds – Gives a mild tang and enhances the flavor.
- 2 bay leaves – Adds depth and complexity to the brine.
- Optional: red pepper flakes – For a spicy kick, add to taste.
How to Make Pickled Green Beans
Making homemade pickled green beans is an easy process that involves preparing the brine, packing the jars, and letting the flavors infuse over time. Here’s how to do it:
Step 1: Prepare the Pickling Brine
In a large saucepan, combine white vinegar, water, and salt. Place over medium-high heat and bring to a gentle boil, stirring occasionally until the salt dissolves completely. Once dissolved, remove from heat and set aside.
Step 2: Prepare the Jars
While the brine is heating, sterilize your jars by washing them in hot, soapy water and rinsing well. You can also place them in boiling water for 5 minutes to ensure they’re properly sanitized.
Divide the garlic cloves, black peppercorns, dill seeds, mustard seeds, bay leaves, and optional red pepper flakes evenly among the sterilized jars. These spices will infuse the green beans with incredible flavor.
Step 3: Pack the Green Beans into the Jars
Trim the fresh green beans to fit inside the jars. Pack them vertically and tightly to ensure they stay submerged in the brine. Snugly fitting the beans will also help maintain their crispness.
Step 4: Pour the Hot Brine Over the Beans
Carefully pour the hot vinegar brine over the green beans in each jar. Make sure the beans are fully covered, leaving about 1/2 inch of headspace at the top.
Step 5: Remove Air Bubbles
Use a clean utensil, such as a chopstick or a butter knife, to gently remove any trapped air bubbles by running it along the inside edges of the jar.
Step 6: Seal the Jars
Wipe the jar rims with a clean, damp cloth to remove any vinegar residue. Place the sterilized lids on top and screw the rings on tightly but not too forcefully.
Step 7: Process in a Boiling Water Bath
To ensure proper preservation, place the sealed jars in a boiling water bath for 10 minutes. This step helps create a vacuum seal, extending shelf life.
Step 8: Cool and Store
Carefully remove the jars from the water bath and set them on a towel-lined surface to cool completely. As they cool, you should hear the lids “pop”, indicating a successful seal.
Once cooled, check the seals by pressing down on the lid’s center—if it doesn’t move, the jar is properly sealed. Store in a cool, dark place for up to a year. If a jar hasn’t sealed properly, refrigerate and consume within a few weeks.
When to Eat Your Pickled Green Beans
For the best flavor, let the pickled green beans sit for at least 24 hours before enjoying them. However, waiting a week allows the flavors to develop even more, giving you a tangier, more flavorful pickle.
How Long to Pickle Green Beans
The pickling process is quick, but the longer the green beans sit in the brine, the better the flavor. Here’s a general timeline to follow:
- 24 Hours – The beans will have a mild tang but won’t be fully infused with flavor.
- 1 Week – The ideal waiting time for the flavors to meld and develop. At this stage, the green beans will have a strong pickled taste with a great balance of acidity and spice.
- 2+ Weeks – Maximum flavor depth. The garlic, mustard seeds, and dill will fully infuse, and the beans will have an intense pickled crunch.
For the best results, store the jars in a cool, dark place and allow at least one week before opening.
How to Store Pickled Green Beans
Proper storage ensures that your pickled green beans stay fresh and flavorful for as long as possible.
- Sealed Jars (Pantry Storage) – If properly processed in a boiling water bath, the jars can be stored in a cool, dark place for up to 1 year.
- Refrigerator Storage – If you didn’t process the jars in a boiling water bath, they should be refrigerated and consumed within 2-3 weeks.
- Opened Jars – Once opened, store the pickled green beans in the refrigerator and consume within 2 weeks for the best taste and crunch.
Tips for the Best Pickled Green Beans
Want the perfectly crisp and flavorful pickled green beans? Follow these expert tips:
- Use Fresh Green Beans – The fresher the beans, the crunchier the pickles. Avoid limp or soft beans.
- Trim the Ends Evenly – Cutting all the beans to the same length helps them fit neatly in the jars and ensures even pickling.
- Pack the Jars Tightly – Snugly packing the green beans helps them stay submerged in the brine, preventing spoilage.
- Let Them Sit for at Least a Week – While you can eat them after 24 hours, allowing at least one week gives the best flavor.
- Customize the Spice Level – If you love heat, increase the red pepper flakes or add a few slices of fresh jalapeño.
- Use Pickling Salt or Kosher Salt – Table salt contains additives that may cloud the brine. Pickling or kosher salt works best.
Ways to Enjoy Pickled Green Beans
These zesty, crunchy green beans are versatile and can be enjoyed in many ways:
- As a Snack – Eat them straight from the jar for a crunchy, tangy treat.
- With Salads – Chop them up and toss them into salads for extra texture and flavor.
- In Charcuterie Boards – Pair them with cheese, meats, and crackers for a gourmet appetizer.
- As a Garnish – Use them to elevate sandwiches, burgers, or even tacos.
- In Cocktails – Add them to mocktails or non-alcoholic beverages for a fun, briny twist.

Crisp and Tangy Pickled Green Beans – A Homemade Delight
- Total Time: 20 minutes
- Yield: 4 pint jars 1x
Description
These Pickled Green Beans are crunchy, tangy, and packed with bold flavors from garlic, dill, mustard seeds, and a touch of spice. They make a perfect snack, salad topping, or side dish.
Ingredients
- 1 pound fresh green beans, washed and trimmed
- 2 cups white vinegar
- 2 cups water
- 2 tablespoons salt
- 4 cloves garlic, peeled
- 2 teaspoons whole black peppercorns
- 2 teaspoons dill seeds
- 2 teaspoons mustard seeds
- 2 bay leaves
- Optional: red pepper flakes for added heat
Instructions
- In a large saucepan, combine white vinegar, water, and salt. Bring to a boil over medium-high heat, stirring until the salt dissolves.
- Divide the garlic cloves, black peppercorns, dill seeds, mustard seeds, bay leaves, and red pepper flakes evenly among sterilized pint-sized canning jars.
- Pack the green beans tightly and vertically into the jars.
- Pour the hot vinegar brine over the beans, covering them completely while leaving 1/2 inch of headspace at the top.
- Use a clean utensil to remove air bubbles by running it along the inside edges of the jar.
- Wipe the rims of the jars with a clean, damp cloth, then seal with sterilized lids and rings.
- Process the jars in a boiling water bath for 10 minutes to ensure proper sealing.
- Carefully remove the jars and let them cool to room temperature. The lids should make a “pop” sound as they seal.
- Store sealed jars in a cool, dark place for up to 1 year. Refrigerate any unsealed jars and use within 2-3 weeks.
Notes
- For extra crunch, blanch the green beans for 30 seconds, then transfer them to an ice bath before pickling.
- If you prefer a milder flavor, reduce the dill seeds and mustard seeds slightly.
- Allow at least 1 week before eating for maximum flavor development.
- Prep Time: 10 minutes
- Cook Time: 10 minutes
Frequently Asked Questions About Pickled Green Beans
1. Can I Use Apple Cider Vinegar Instead of White Vinegar?
Yes! Apple cider vinegar can be used as a substitute for white vinegar in this recipe. It adds a slightly sweeter and fruitier tang to the pickled green beans. However, ensure that the vinegar has at least 5% acidity for proper preservation.
2. Why Are My Pickled Green Beans Soft Instead of Crunchy?
Soft green beans are often caused by:
- Using beans that are not fresh – Always pick firm, bright green beans.
- Overprocessing – If boiling water canning, avoid excessive heat exposure. Stick to 10 minutes to maintain crispness.
- Skipping an ice bath – For extra crunch, blanch the green beans in boiling water for 30 seconds, then immediately transfer them to an ice bath before pickling.
3. Do I Need to Refrigerate Pickled Green Beans?
- If the jars were properly sealed through the boiling water bath method, they can be stored in a cool, dark place for up to a year.
- If not processed in a water bath, they must be refrigerated and consumed within 2-3 weeks.
4. Can I Add Other Vegetables to This Recipe?
Absolutely! Pickling green beans with other vegetables enhances flavor and texture. Some great additions include:
- Carrot sticks – For a slightly sweet and crunchy contrast.
- Sliced onions – Adds an extra punch of flavor.
- Bell peppers – Provides a subtle sweetness.
- Radishes – Gives a peppery bite with a crisp texture.