
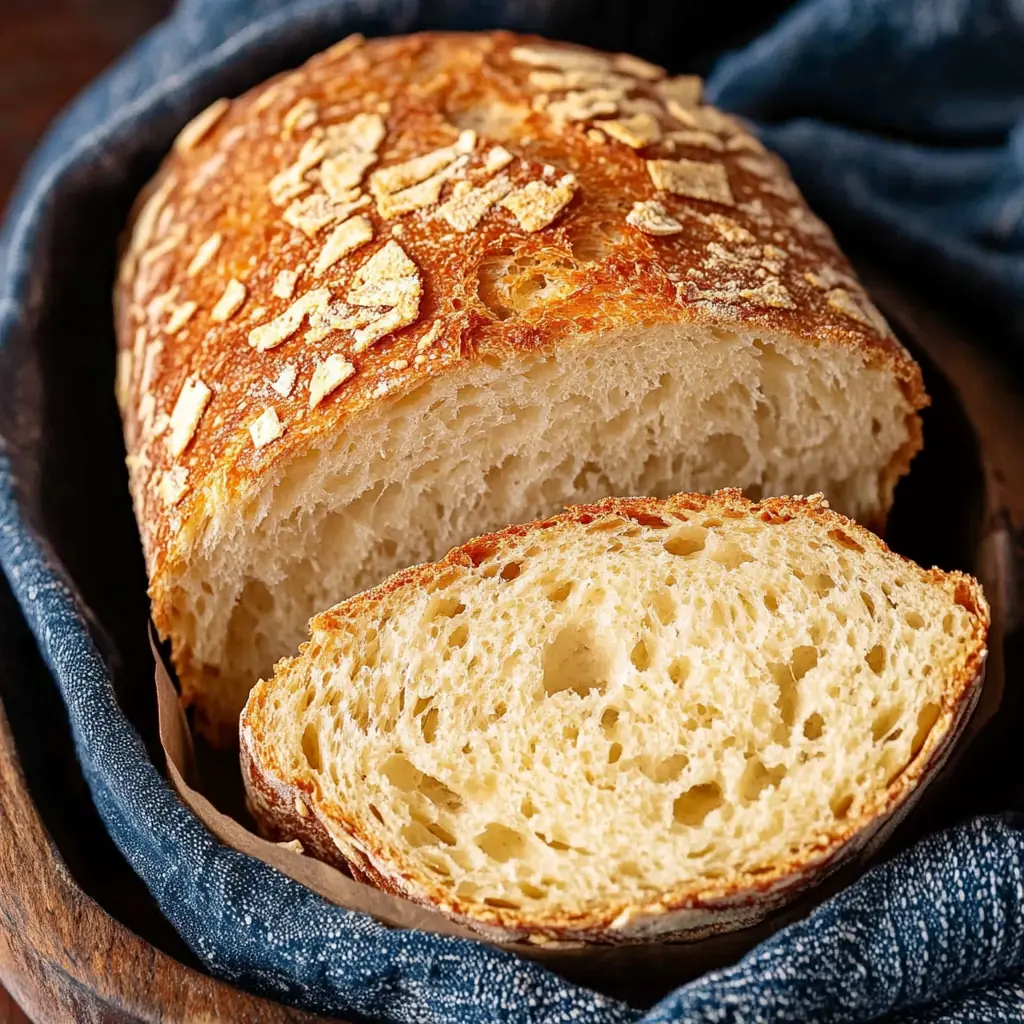
There’s something incredibly satisfying about baking bread from scratch—especially when it fills the kitchen with the rich, nutty aroma of melted Asiago cheese. As a baker, I’ve tried countless loaves, but this Asiago Bread holds a special place in my heart. It’s got that golden, cheesy crust on the outside and a tender, flavorful crumb on the inside. I always know it’s going to be a hit when I pull it out of the oven and everyone gathers around, eager for a warm slice.
What I love most about this bread is its versatility. It pairs beautifully with soups, works wonders as a sandwich base, and even tastes amazing on its own with a bit of butter. And the best part? It doesn’t require fancy techniques or hours of kneading. Once you’ve made it a couple of times, you’ll have the process down and start experimenting with your own cheesy twists. Sometimes I add herbs like rosemary or chives, and other times I’ll swirl in some garlic for extra depth.
When I first started baking this bread, I was drawn to the way Asiago cheese transforms in the oven—melting into little pockets of savory flavor that contrast perfectly with the slightly chewy texture of the loaf. It’s one of those recipes that makes you feel like a real artisan baker without being overly complicated.
If you’re looking for a bread recipe that’s both comforting and a little elevated, this is it. Whether you’re baking for your family, bringing something to a gathering, or just want your home to smell like a cozy bakery, this Asiago Bread delivers every time. Let’s dive into how to make this cheesy, crusty delight from scratch—you won’t regret it.
Ingredients:
-
3 ½ cups bread flour (plus extra for dusting)
-
1 tbsp sugar
-
2 tsp salt
-
1 tbsp instant dry yeast
-
1 ¼ cups warm water (110°F / 43°C)
-
2 tbsp olive oil
-
1 ½ cups shredded Asiago cheese (divided)
-
1 tsp garlic powder (optional)
-
1 tsp dried rosemary or thyme (optional)
-
Cornmeal for dusting (optional)
How to Bake Asiago Bread:
First, I always begin by prepping my ingredients. I gather the flour, sugar, salt, and yeast into a large mixing bowl. If you’re using a stand mixer with a dough hook, that’s even better. After giving the dry ingredients a quick stir, I slowly pour in the warm water and olive oil while mixing. The dough starts out shaggy, but after a few minutes of kneading, it becomes smooth and elastic. If it’s sticky, I add a tablespoon of flour at a time until it pulls away from the sides of the bowl.
At this stage, I gently knead in 1 cup of shredded Asiago cheese. You can also add garlic powder and herbs here if you want that extra punch of flavor. Once incorporated, I shape the dough into a ball and place it in a greased bowl. Then, I cover it with a clean towel and let it rise in a warm place for about an hour—or until it has doubled in size.
After the dough rises, I punch it down lightly and turn it out onto a floured surface. Next, I shape it into a round or oval loaf and place it on a baking sheet lined with parchment paper or dusted with cornmeal for that rustic touch. Then comes my favorite part—topping the loaf with the remaining ½ cup of Asiago cheese. It melts and browns beautifully in the oven.
Before baking, I let the loaf rise again for about 30 minutes. Meanwhile, I preheat the oven to 400°F (200°C). For an even crust, I sometimes place a pan of hot water on the bottom rack to create steam while baking.
The bread bakes for 25–30 minutes, or until it’s golden brown and sounds hollow when tapped on the bottom. I always let it cool on a wire rack for at least 20 minutes before slicing—though that’s the hardest part because the smell is irresistible.
Whether served warm or toasted the next day, this bread never disappoints.
How Long to Bake Asiago Bread
Baking Asiago Bread takes about 25 to 30 minutes in a preheated oven at 400°F (200°C). I always check for a deep golden color and a slightly crisp crust. One trick I use is tapping the bottom of the loaf—it should sound hollow when it’s done. If I’ve added extra cheese on top, I sometimes loosely cover it with foil during the last 10 minutes to prevent over-browning.
If you’re using a baking stone, it might shave off a minute or two, giving the bottom a crispier finish. And if you’re making mini loaves or rolls instead of one large bread, reduce the baking time to around 18–22 minutes. Keeping an eye on the color and aroma is key—it should smell deeply savory and rich when it’s ready.
How to Store Leftovers
Once fully cooled, I wrap leftover bread tightly in parchment paper or foil and store it in a bread box or sealed bag. It keeps well at room temperature for up to 2 days. For longer storage, I slice the loaf and freeze it in zip-top bags. That way, I can easily pull out a slice or two when needed.
To reheat, I simply toast the slices or warm the loaf in the oven at 325°F (160°C) for about 10 minutes. It brings back that fresh-baked taste and texture. Avoid refrigerating it, though—it tends to dry out faster in the fridge.
Tips for Perfect Asiago Bread
Here are a few tips I always follow to get perfect results:
-
Use high-quality Asiago cheese. Aged Asiago gives a sharper flavor and melts beautifully. I grate it fresh for best results.
-
Don’t skip the second rise. This final proof ensures the bread has a light, airy texture inside while developing a chewy crust.
-
Steam matters. Placing a pan of hot water in the oven during baking improves crust formation and helps the loaf rise higher.
-
Score the top. A shallow slash on top before baking allows the bread to expand evenly. I use a sharp knife or lame for a clean cut.
-
Let it cool. I know it’s tempting to slice it right out of the oven, but waiting 20–30 minutes prevents gummy texture and locks in flavor.
Finally, I often sprinkle a little extra Asiago on top right before baking. It gives that golden, cheesy crown everyone loves. And if I’m feeling fancy, I’ll mix in a pinch of rosemary or thyme into the dough—just enough to complement the cheese without overpowering it. Every time I bake this bread, it gets devoured, whether at home or at gatherings.
Frequently Asked Questions
1. Can I make Asiago Bread without a stand mixer?
Absolutely. I’ve made this bread many times by hand, especially when I want to feel more connected to the dough. After combining the ingredients, I knead the dough on a floured surface for about 10 minutes until it becomes smooth and elastic. It takes a bit more effort, but the results are just as satisfying. Make sure to knead thoroughly so the gluten develops properly for a good rise.
2. Is it possible to use all-purpose flour instead of bread flour?
Yes, you can substitute all-purpose flour if that’s what you have on hand. The texture might be slightly less chewy, and the rise could be a bit softer, but it still works. I’ve done it in a pinch and was happy with the results. If you want to improve the structure, you can add 1 tablespoon of vital wheat gluten per cup of all-purpose flour.
3. How can I make the crust crispier?
To achieve a crispier crust, I recommend using a preheated baking stone or placing your baking sheet in the oven while it preheats. Also, don’t skip the steam step—adding a pan of hot water creates steam, which helps develop that bakery-style crust. Once baked, let the loaf cool uncovered on a wire rack. Covering it while warm can make the crust soften due to trapped steam.
4. Can I use other cheeses instead of Asiago?
Certainly. I’ve experimented with Parmesan, Gruyère, and even sharp white cheddar when I was out of Asiago. While the flavor changes slightly, they all work well in this bread. Just make sure the cheese you choose melts nicely and has a bold flavor. If you’re aiming for the original flavor profile, Asiago remains the best choice because of its nutty, savory depth.
Asiago Bread
- Total Time: Rise Time: 90 minutes
- Yield: 1 loaf (about 8 slices) 1x
Description
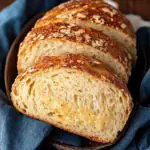
These Asiago Bread loaves are cheesy, crusty, and packed with flavor. The rich, nutty taste of Asiago melts into the dough, creating a golden loaf perfect for sandwiches, soups, or enjoying warm with butter. Whether served fresh from the oven or toasted the next day, this bread brings a homemade, artisan feel to any table.
Ingredients
-
3 ½ cups bread flour (plus extra for dusting)
-
1 tbsp sugar
-
2 tsp salt
-
1 tbsp instant dry yeast
-
1 ¼ cups warm water (110°F / 43°C)
-
2 tbsp olive oil
-
1 ½ cups shredded Asiago cheese (divided)
-
1 tsp garlic powder (optional)
-
1 tsp dried rosemary or thyme (optional)
-
Cornmeal for dusting (optional)
Instructions
-
In a large bowl, combine flour, sugar, salt, and yeast.
-
Add warm water and olive oil, mixing until a dough forms.
-
Knead the dough for about 8–10 minutes until smooth and elastic.
-
Mix in 1 cup of Asiago cheese, along with garlic powder or herbs if using.
-
Shape dough into a ball and place in a greased bowl. Cover and let rise for 1 hour or until doubled.
-
Punch down the dough and shape into a loaf. Place on a parchment-lined or cornmeal-dusted baking sheet.
-
Sprinkle the remaining ½ cup of Asiago cheese over the top.
-
Cover and let rise for 30 more minutes. Meanwhile, preheat the oven to 400°F (200°C).
-
Place a shallow pan of hot water in the oven for steam.
-
Bake the bread for 25–30 minutes, until golden brown and hollow-sounding when tapped.
-
Cool on a wire rack before slicing and serving.
Notes
-
For added texture, sprinkle sesame seeds or sunflower seeds on top before baking.
-
Store at room temperature for 2 days or freeze slices for up to 1 month.
-
Swap Asiago with Parmesan or Gruyère for a different flavor twist.
- Prep Time: 15 minutes
- Cook Time: 25–30 minutes