
Introduction to Fudge
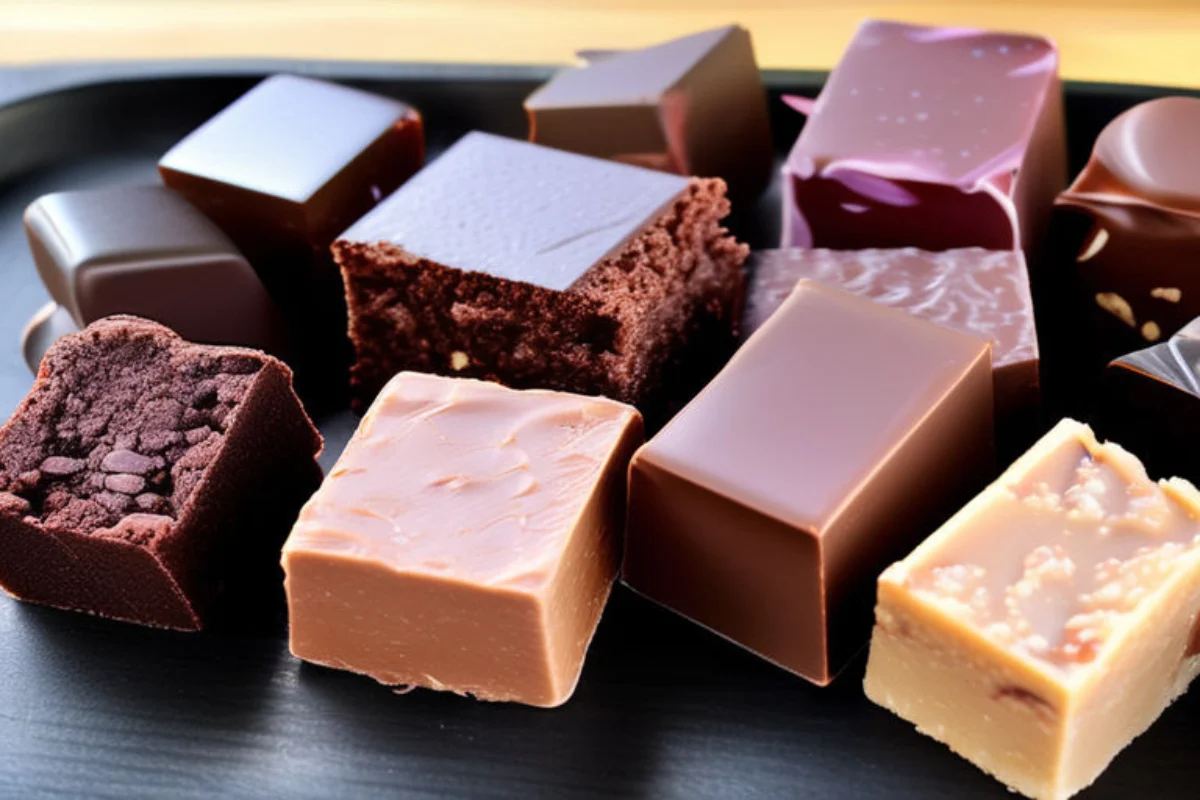
fudge recipe, a classic confection cherished around the globe, boasts a history as rich and sweet as its taste. Originally from the United States, fudge has found its way into the hearts and homes of people everywhere, becoming a symbol of warmth and homemade goodness.
This creamy treat has evolved over the years, but its core remains the same: a deliciously dense, sweet, and soft mixture that melts in your mouth, leaving you wanting more. The beauty of fudge lies not only in its taste but also in its simplicity. With just a few ingredients—sugar, butter, and milk—anyone can start their journey into the enchanting world of fudge making.
Why do people adore fudge so much? Perhaps it’s the way it brings us together, serving as a centerpiece at holidays, gatherings, and special occasions. Or maybe it’s the sheer joy of creating something so delightful from such simple ingredients. Whatever the reason, fudge continues to be a beloved treat, and mastering its creation is a sweet achievement.
As we delve deeper into the art of making fudge, remember, the key to perfect fudge lies in patience, precision, and a pinch of creativity. Whether you prefer classic chocolate, nutty delights, or adventurous flavors, fudge offers a canvas for your culinary artistry.
Stay tuned as we guide you through the basics and beyond, ensuring that your fudge-making journey is as smooth and enjoyable as the fudge itself. Welcome to the wonderful world of fudge—let’s make it sweet!
Basic Fudge Recipe
Embarking on the fudge-making journey begins with mastering the basic fudge recipe. This foundational recipe is the stepping stone to countless variations and flavors. Let’s dive into the essentials of creating your very first batch of heavenly fudge.
Ingredients Needed
To whip up a classic batch of fudge, you’ll need:
- 2 cups of granulated sugar, the cornerstone of sweetness.
- 1/2 cup of milk, which adds creaminess and body.
- 1/4 cup of unsalted butter, for that melt-in-your-mouth texture.
- 1/4 teaspoon of salt, to balance the sweetness.
- 1 teaspoon of vanilla extract, for a hint of aromatic flavor.
Step-by-Step Instructions
- Prepare Your Pan: Line an 8-inch square pan with parchment paper, leaving an overhang on the sides for easy removal.
- Combine the Ingredients: In a medium saucepan, mix the sugar, milk, butter, and salt. Heat over medium flame, stirring constantly, until the sugar dissolves completely. This ensures a smooth texture.
- Boil to Perfection: Once the sugar has dissolved, increase the heat and bring the mixture to a boil. Avoid stirring at this stage; let the magic happen. Cook until the mixture reaches the soft ball stage, around 235°F on a candy thermometer.
- Cool and Beat: Remove the pan from heat and let it cool slightly without stirring. When the temperature drops to about 110°F, add the vanilla extract and beat the mixture vigorously with a wooden spoon. This step is crucial for achieving that classic fudge texture.
- Pour and Set: Once the mixture thickens and loses its gloss, pour it into your prepared pan. Smooth the top with a spatula and let it set at room temperature.
- Slice and Enjoy: After the fudge has set, lift it out of the pan using the parchment paper overhang. Cut into squares and enjoy the fruits of your labor!
Making fudge is akin to conducting a symphony, where each ingredient plays a vital role in the final masterpiece. The key to success lies in precision and timing, ensuring each step is executed with care.
This basic fudge recipe serves as a blank canvas, inviting you to add your personal touch with various flavors and mix-ins. So, why not let your creativity run wild? From nuts and fruits to chocolate chips and spices, the possibilities are endless.
Remember, making fudge is not just about following a recipe; it’s about embracing the joy of creating something special. As you stand over the stove, stirring your concoction, think of the smiles and joy your homemade fudge will bring. This is the true essence of fudge making—a labor of love that sweetens not just the palate but also the heart.
Variations of Fudge Recipes
Once you’ve mastered the basic fudge recipe, the world of fudge variations opens up to you. Here, creativity knows no bounds. Let’s explore some popular and delicious twists on the classic fudge recipe that are sure to tantalize your taste buds.
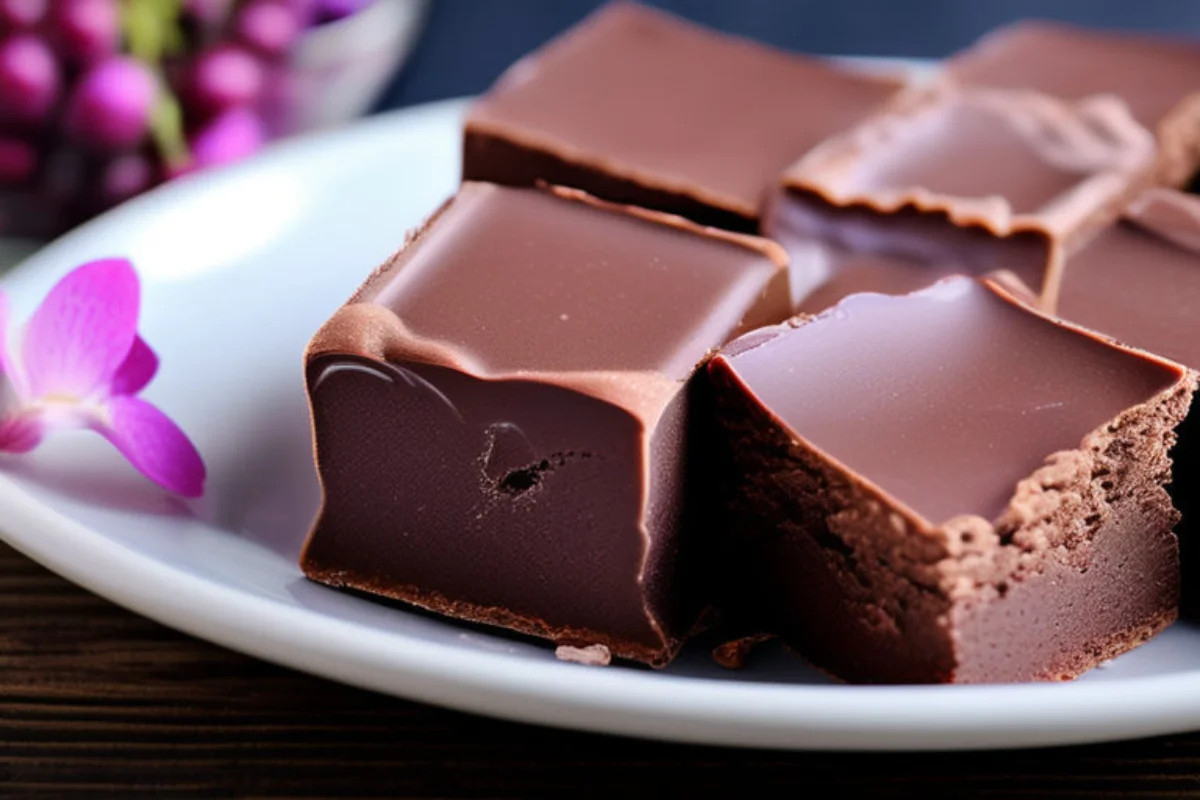
Chocolate Fudge
- Ingredients and Preparation: Begin with the basic recipe, but add 1 cup of semi-sweet chocolate chips to the mixture just before it starts to cool. The heat will melt the chocolate, integrating it seamlessly into the fudge, creating a rich and decadent treat.
Peanut Butter Fudge
- Ingredients and Preparation: For a nutty delight, reduce the milk to 1/4 cup and add 1 cup of peanut butter along with the vanilla extract during the cooling phase. The result? A creamy, dreamy fudge that peanut butter lovers will adore.
Walnut and Maple Fudge
- Ingredients and Preparation: Add a seasonal twist by incorporating 1 cup of chopped walnuts and replacing the vanilla extract with the same amount of maple syrup. This variation brings a touch of autumnal warmth to your fudge, making it irresistible.
Vegan Fudge Options
- Ingredients and Alternatives: Veganizing fudge is simpler than you might think. Substitute the milk with a non-dairy alternative like almond or coconut milk, and use a plant-based butter substitute. For the chocolate fudge, ensure your chocolate chips are vegan. These substitutions maintain the delightful texture and taste of traditional fudge while adhering to vegan dietary preferences.
Each of these variations showcases the versatility of fudge. Whether you prefer the classic richness of chocolate, the creamy depth of peanut butter, the crunch and warmth of walnuts and maple, or a plant-based alternative, there’s a fudge recipe for every palate.
Experimenting with these variations not only broadens your confectionery repertoire but also allows you to personalize your treats. Imagine serving a platter of assorted fudge at your next gathering, each piece a testament to your culinary creativity.
Moreover, these variations are just the beginning. The beauty of fudge making lies in the endless possibilities for innovation. From incorporating exotic spices to layering flavors for a multi-dimensional experience, the only limit is your imagination.
So, why not take your fudge-making journey to the next level? Explore, experiment, and most importantly, enjoy the process. After all, the best recipes are those that come with a story, a dash of adventure, and a sprinkle of love.
Tips and Techniques
Making fudge is an adventure in flavor and finesse, and mastering it requires more than just following recipes; it’s about embracing the art and science of confectionery. Here, we delve into tips and techniques that can elevate your fudge from good to unforgettable.
Perfecting Your Technique
To achieve that silky-smooth texture and rich flavor in your fudge, precision is key. Use a candy thermometer to ensure your sugar mixture reaches the soft ball stage, a crucial step for the perfect consistency. Moreover, understanding the science of sugar crystallization can greatly enhance your fudge-making process. For those interested in the nitty-gritty of candy making, exploring the “Ultimate Guide to Delicious Beefaroni” might offer insightful parallels in culinary precision.
Flavor Exploration
The beauty of fudge lies in its versatility. Whether you’re aiming for the classic chocolate or venturing into more exotic flavors, the possibilities are limitless. Integrating ingredients like sea salt, espresso powder, or dried fruit can transform your fudge into a gourmet experience. Those with a penchant for culinary experimentation might also enjoy the flavor combinations featured in “Exploring the Sweet Potato Pie vs. Pumpkin Pie,” which can inspire new fudge variations.
Presentation and Storage
Presentation enhances the appeal of your fudge, making it a feast for the eyes as well as the palate. Creative cutting and thoughtful packaging can turn your fudge into the perfect gift or an elegant treat for guests. For those who revel in the art of presentation, the aesthetic tips in “Crafting the Perfect Pho Bowl” could offer unique ideas applicable beyond traditional dishes.
Beyond Fudge
As you journey through the world of fudge making, don’t hesitate to explore related confectionery challenges. From mastering the art of the perfect cheesecake to exploring the nuances of artisan bread, every culinary endeavor enriches your skills and palette.
Embracing these tips and techniques not only enhances your fudge-making experience but also deepens your appreciation for the culinary arts. As you explore, experiment, and learn, remember that each batch of fudge is a step in your ongoing culinary adventure, sweetened with the joy of creation and discovery.
Advanced Fudge Making
As you become more confident in your fudge-making skills, it’s time to explore advanced techniques and innovative ideas to elevate your creations. Advanced fudge making is all about experimenting with flavors, textures, and presentation to craft confections that not only taste divine but also look stunning.
Incorporating Flavors and Textures
The world of fudge is vast and varied, offering endless possibilities for customization. Here are some tips for adding depth and complexity to your fudge:
- Experiment with Extracts: Beyond vanilla, there’s a whole spectrum of extracts to explore. Almond, peppermint, and orange can transform the flavor profile of your fudge. Just a few drops can make a big difference, so add gradually and taste as you go.
- Spice It Up: Spices like cinnamon, nutmeg, and cardamom can add warmth and complexity to your fudge. They’re especially great in chocolate or pumpkin fudge. Start with a pinch and adjust to your liking.
- Texture Play: To introduce texture into your fudge, consider mix-ins like chopped nuts, dried fruit, or even crispy rice cereal. These additions not only enhance the taste but also provide a delightful contrast to the creamy fudge.
- Layering: For a visually appealing and taste-bud-tempting treat, try creating layers of different flavored fudges. A layer of dark chocolate fudge topped with a layer of peanut butter fudge, for example, makes for a decadent delight.
Presentation Ideas
The presentation is just as important as the taste. Here are some ideas to make your fudge stand out:
- Creative Cutting: Instead of traditional squares, use cookie cutters to cut your fudge into hearts, stars, or any shape that suits the occasion. This small touch can make your fudge more festive and fun.
- Dipping and Drizzling: Elevate the appearance of your fudge by dipping pieces in chocolate or drizzling them with caramel or a contrasting color of melted chocolate. This not only adds an extra layer of flavor but also makes your fudge more visually enticing.
- Packaging: If you’re gifting fudge, creative packaging can make a big difference. Wrap individual pieces in colorful foil, place them in a decorative box, or tie them up in a clear bag with a ribbon. A little effort in presentation can turn your fudge into a memorable gift.
When incorporating advanced techniques and ideas into your fudge making, don’t forget to check out the Food Safety Guidelines for handling and storing your ingredients properly. This ensures that your culinary creations are not only delicious but also safe to enjoy.
In the realm of fudge making, the only limit is your imagination. With a bit of creativity and a willingness to experiment, you can transform simple ingredients into extraordinary treats. So, dare to experiment, and let your culinary creativity lead the way to advanced fudge-making adventures!
Frequently Asked Questions
In the delightful world of fudge-making, questions abound as enthusiasts seek to perfect their craft. Below, we tackle some of the most frequently asked questions about making fudge, providing you with the insights needed to navigate any sticky situations you might encounter.
How to Store Fudge
What’s the best way to store fudge, and how long does it last? A: To keep fudge at its best, store it in an airtight container at room temperature. It can last for 1-2 weeks this way. For a longer shelf life, refrigerate your fudge, and it can last up to 3 weeks. Remember, the key is to keep it away from air and moisture to maintain its delightful texture.
Freezing Fudge
Can I freeze fudge? A: Absolutely! Freezing fudge is a great way to extend its enjoyment. Wrap it tightly in plastic wrap and then in aluminum foil or place it in a sealable freezer bag. Fudge can be frozen for up to 3 months. Thaw it in the refrigerator or at room temperature before indulging.
Fixing Fudge That Didn’t Set
My fudge didn’t set. What can I do? A: Fudge that hasn’t set is often the result of not cooking the mixture to the correct temperature. However, all is not lost. You can try reheating the fudge mixture, adding a little more milk, and bringing it to the soft ball stage (around 235°F). Pour it back into the pan and let it set again. This can often salvage the batch.
Making Fudge Creamier
How do I make my fudge creamier? A: For creamier fudge, ensure you’re using high-quality ingredients, especially the butter. Also, consider using evaporated milk or condensed milk instead of regular milk for a richer texture. The key is in the beating process after cooking; thorough beating as the fudge cools can also make it creamier.
Vegan Fudge Options
Are there vegan options for making fudge? A: Yes, making vegan fudge is entirely possible and delicious. Substitute the dairy with coconut milk or almond milk, and use dairy-free chocolate and butter alternatives. The process remains largely the same, and the result is equally indulgent. For inspiration, The Vegan Society offers great resources on vegan cooking and baking.
Navigating the nuances of fudge-making can be as challenging as it is rewarding. Yet, armed with the right knowledge and a bit of practice, you’re well on your way to creating batches of fudge that are just as satisfying to make as they are to eat. Remember, each batch is a new adventure, a delicious experiment waiting to unfold. So, keep stirring, keep experimenting, and most importantly, keep enjoying the sweet journey of fudge-making.
Conclusion and Encouragement to Experiment
As we wrap up this comprehensive journey into the heart of fudge-making, it’s clear that the world of fudge is as rich and diverse as its flavors. From the simple joy of stirring together a basic recipe to the thrill of experimenting with advanced techniques, fudge-making is an art that invites creativity and innovation at every turn.
The beauty of fudge lies not only in its delicious taste but also in the process of creating it. Each step, from measuring ingredients to slicing the final product, is a labor of love—a chance to pour a little bit of yourself into something that brings joy to others. Whether you’re making fudge for a special occasion, as a gift, or simply to satisfy a sweet craving, the act of making fudge is a celebration of the simple pleasures in life.
We encourage you to embrace the spirit of experimentation. The guidelines and recipes provided here are just a starting point. The real magic happens when you begin to play with flavors, textures, and presentations, making each batch of fudge uniquely yours. Don’t be afraid to try new things, even if they don’t always turn out as expected. Every batch of fudge, whether perfect or imperfect, is a step on your journey to becoming a more confident and creative confectioner.
Remember, the world of fudge is endlessly forgiving and flexible. Mistakes are merely opportunities to learn and grow, and every piece of fudge, regardless of its appearance, is a testament to the joy of making something by hand. So, keep experimenting, keep learning, and most importantly, keep sharing your fudge and your stories with those around you.
In the end, fudge is more than just a confection; it’s a connection—a way to bring people together, to share moments of happiness, and to create memories that last a lifetime. So, here’s to your fudge-making adventures! May they be sweet, fulfilling, and endlessly delicious.