
Growing up, chocolate milk was always my special treat. However, as I began to explore the world of baking and cooking, I discovered something remarkable—making Nesquik at home is not only possible but actually better than the store-bought version! The first time I mixed these simple ingredients together, the rich chocolate aroma brought me right back to my childhood kitchen. Yet, this homemade version has a depth of flavor that simply can’t be matched by commercial products.
The beauty of this recipe lies in its simplicity. After countless batches and slight adjustments, I’ve perfected this homemade Nesquik recipe that my family now requests constantly. Moreover, whenever friends come over and I serve them chocolate milk made with this mix, they’re genuinely surprised when I tell them it’s homemade.
Why You’ll Love This Recipe
First of all, this homemade chocolate mix gives you complete control over the ingredients. Subsequently, you’ll know exactly what goes into your chocolate milk—no preservatives, artificial flavors, or mysterious additives. Additionally, you can adjust the sweetness to your preference, making it less sweet for adults or sweeter for those with a serious sweet tooth.
Versatile
Furthermore, this chocolate mix isn’t just for milk! Therefore, you can use it in numerous ways throughout your kitchen adventures. For instance, sprinkle it over ice cream for a quick chocolate boost. Meanwhile, it works wonderfully in coffee for a mocha-like experience. Likewise, you can add it to your smoothies, oatmeal, or yogurt for a chocolatey twist. In addition, it makes a fantastic hot chocolate when mixed with warm milk on those chilly evenings.
Budget-Friendly
Besides being delicious, this recipe is incredibly economical. In fact, making your own Nesquik costs a fraction of the price of store-bought versions. Hence, a single batch makes enough to last for weeks, depending on how chocolate-obsessed your household may be. As a result, you’ll save money while enjoying a superior product.
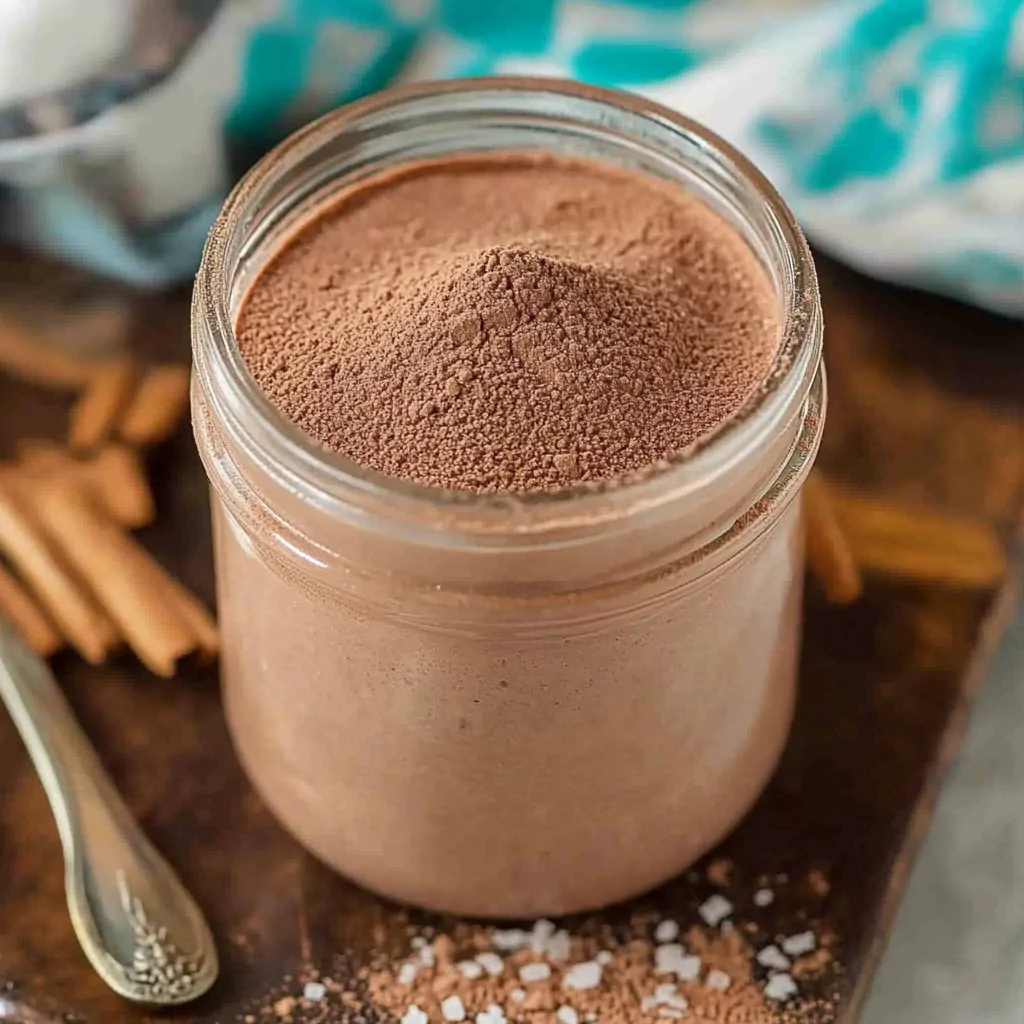
Ingredients for Homemade Nesquik
The simplicity of this recipe is one of its greatest strengths. You’ll need:
- 1 cup cocoa powder
- 1 cup sugar
- 1/2 teaspoon salt
- 1 teaspoon vanilla extract
How to Make This Recipe
Making homemade Nesquik is ridiculously simple. Nevertheless, there are a few tips and tricks I’ve discovered over the years that will help you achieve chocolate perfection. Consequently, you’ll want to follow these steps carefully to ensure the best flavor and texture in your final product.
Step-by-Step Instructions for Making Homemade Nesquik
First, gather all your ingredients and measuring tools. Then, find a mixing bowl large enough to comfortably combine everything without spilling. After that, measure your cocoa powder precisely—the type of cocoa you use will significantly impact the flavor. Meanwhile, prepare your storage container by making sure it’s completely dry and clean.
- Begin by whisking together the cocoa powder, sugar, and salt in a medium bowl. Moreover, make sure to break up any lumps in the cocoa powder as you go. Otherwise, you might end up with cocoa clumps in your finished mix.
- Next, add the vanilla extract to the dry ingredients. Subsequently, mix everything thoroughly until the vanilla is fully incorporated. Furthermore, the vanilla will slightly moisten the mixture, which helps prevent dust when scooping.
- Once mixed, transfer your homemade Nesquik to an airtight container. Therefore, your chocolate mix will stay fresh for months in your pantry. However, I always use mine up much sooner than that!
- To use your homemade Nesquik, add about 2 tablespoons to a glass of milk. Then, stir vigorously until completely dissolved. Finally, enjoy the rich, chocolatey goodness you’ve created.
Quick and Easy
Despite its gourmet taste, this homemade Nesquik takes less than five minutes to prepare. In fact, you’ll spend more time finding your ingredients in the pantry than actually making the mix! Additionally, there’s no cooking involved, so it’s a perfect recipe for busy days. Furthermore, children can help with measuring and mixing, making this a fun family activity.
Customizable
Beyond the basic recipe, you can customize your homemade Nesquik in numerous ways. For instance, try using brown sugar instead of white for a more caramel-like flavor. Alternatively, add a pinch of cinnamon or cayenne for a Mexican hot chocolate twist. Meanwhile, coffee lovers might appreciate a teaspoon of instant espresso powder mixed in. Consequently, the possibilities are endless!
Crowd-Pleasing
Above all, this homemade Nesquik is guaranteed to please chocolate lovers of all ages. In other words, it’s perfect for family gatherings, sleepovers, or after-school treats. Not only does it satisfy chocolate cravings, but it also creates wonderful memories. Hence, don’t be surprised when family members start requesting your special chocolate milk by name!
Print
Homemade Nesquik
- Total Time: 5 minutes
- Yield: About 2 cups of chocolate mix (approximately 16 servings) 1x
Description
Make your own chocolate milk mix with just four simple ingredients! This homemade Nesquik tastes even better than the store-bought version and contains no preservatives or artificial flavors.
Ingredients
- 1 cup cocoa powder
- 1 cup sugar
- 1/2 teaspoon salt
- 1 teaspoon vanilla extract
Instructions
- In a medium bowl, whisk together cocoa powder, sugar, and salt until thoroughly combined and no lumps remain.
- Add vanilla extract to the dry mixture.
- Mix until the vanilla is fully incorporated throughout the mixture.
- Transfer the finished chocolate mix to an airtight container for storage.
- To make chocolate milk, add 2 tablespoons of mix to a glass of milk.
- Stir vigorously until completely dissolved.
- Adjust the amount of mix used according to your taste preferences.
Notes
- For a richer chocolate flavor, use Dutch-processed cocoa powder.
- This mix works well in hot or cold milk.
- Try adding a pinch of cinnamon for a flavor variation.
- The mix can also be used in coffee, smoothies, oatmeal, or sprinkled over ice cream.
- Prep Time: 5 minutes
FAQs
How long does homemade Nesquik last?
When stored in an airtight container in a cool, dry place, your homemade Nesquik will last for up to three months. Nevertheless, the fresher it is, the better it tastes. Therefore, I recommend making smaller batches more frequently rather than one large batch.
Can I use a different type of sugar?
Certainly! While granulated sugar works perfectly, you can experiment with alternatives. For example, try coconut sugar for a slightly caramel flavor. Meanwhile, powdered sugar will give you a smoother mix. However, avoid liquid sweeteners like honey or maple syrup, as they’ll cause the mixture to clump.
Is this healthier than store-bought Nesquik?
Indeed, this homemade version contains no preservatives, artificial colors, or flavors. Furthermore, you control exactly how much sugar goes into the mix. As a result, many parents prefer serving this homemade version to their children.
Can I make this recipe sugar-free?
Absolutely! You can substitute the sugar with your preferred sugar alternative. Nevertheless, you may need to adjust the amounts since some sweeteners are more potent than sugar. Additionally, remember that the texture might be slightly different.