
I absolutely love making homemade pickles! There’s something incredibly satisfying about transforming fresh cucumbers into crisp, flavorful pickles right in my own kitchen. These Garlic Dill Pickles are bursting with tangy, garlicky goodness, with just the right amount of crunch. Whether you enjoy them as a snack, a burger topping, or a side to your favorite sandwich, they’re a must-have in any kitchen.
The Perfect Balance of Flavor and Crunch
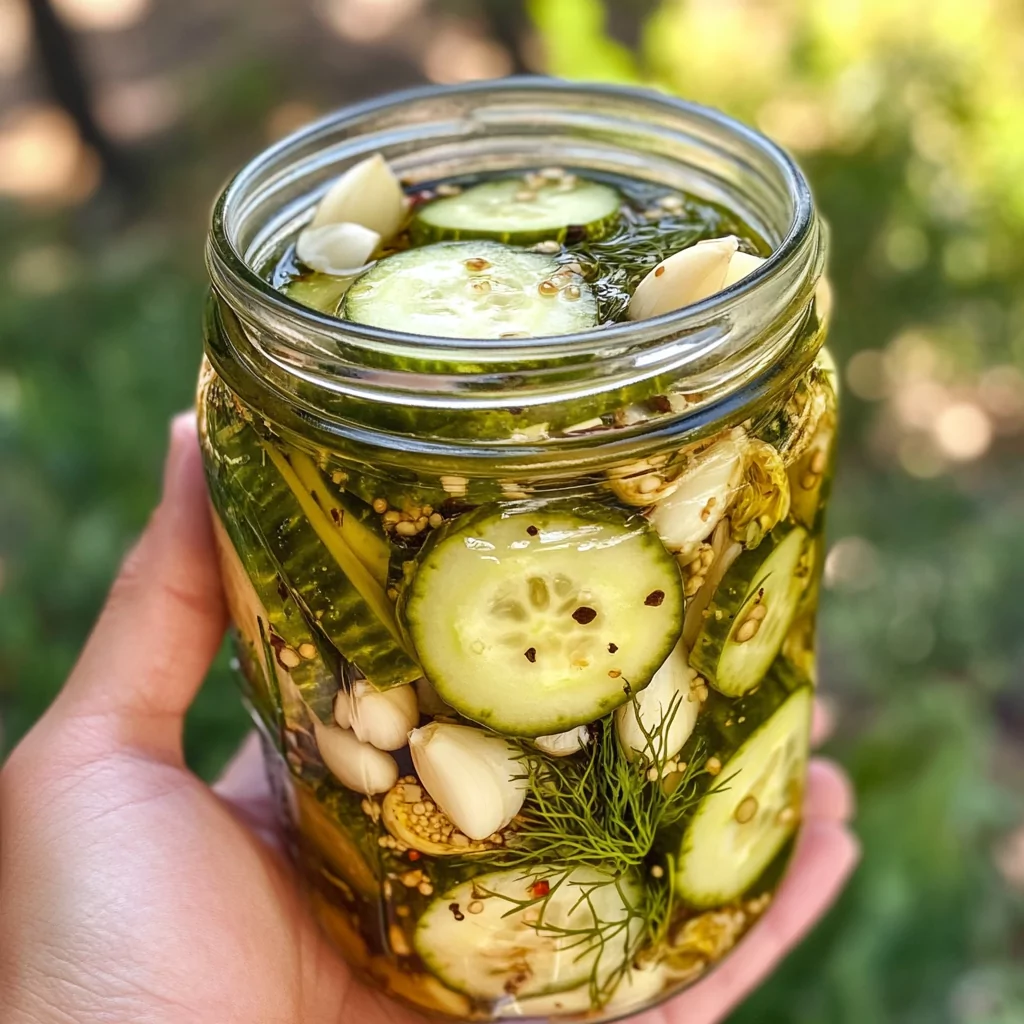
Homemade pickles are far superior to store-bought versions. The combination of fresh dill, garlic, and pickling spices creates a vibrant, aromatic flavor that pairs beautifully with the natural crispness of cucumbers. Unlike store-bought pickles, which can sometimes be too salty or overly processed, these homemade pickles let you control the taste to match your preference.
This recipe is simple, requiring just a few pantry staples. You don’t need any fancy equipment—just fresh ingredients, a few jars, and a little patience while they marinate. In just a day or two, you’ll have perfectly tangy, garlicky dill pickles ready to enjoy.
Ingredients for Homemade Garlic Dill Pickles
To make these crisp, tangy, and flavorful garlic dill pickles, you’ll need just a few fresh ingredients and pantry staples. Each ingredient plays an important role in achieving the perfect balance of crunch, saltiness, and aromatic flavor.
Essential Ingredients:
- 3 cups water 💧 – Helps create the brine to pickle the cucumbers.
- 3/4 cup white vinegar 🍶 – Provides the essential tangy flavor and preserves the pickles.
- 3 tablespoons white sugar 🍚 – Balances out the acidity and enhances the overall flavor.
- 2 tablespoons kosher salt 🧂 – Draws out excess moisture from the cucumbers, making them crisp.
- 2 tablespoons pickling spice 🌿 – A flavorful mix of spices that adds depth to the pickles.
- Bunch of fresh dill 🌱 – The star herb that infuses the pickles with a classic dill flavor.
- 6-8 garlic cloves 🧄 – Adds a bold, garlicky kick that enhances the taste.
- 4-6 cucumbers, sliced 🥒 – Use firm, fresh cucumbers for the best crunch. Cut them into spears, slices, or leave them whole.
- Optional: chilies 🌶️ – If you like spicy pickles, add a few chilies for extra heat.
How to Make Homemade Garlic Dill Pickles
Making pickles at home is incredibly easy, requiring just a few simple steps. Follow this method for perfectly crisp and flavorful pickles every time.
Step 1: Prepare the Pickling Brine
In a medium saucepan, combine water, white vinegar, sugar, kosher salt, and pickling spice. Stir well and bring the mixture to a boil over medium heat. Once the sugar and salt are fully dissolved, remove the saucepan from the heat. Allow the brine to cool to room temperature before pouring over the cucumbers.
Step 2: Sterilize the Jars
While the brine cools, prepare your jars for pickling. Sterilize them by either:
- Boiling them in hot water for 10 minutes, or
- Running them through a dishwasher cycle with high heat.
Sterilizing the jars ensures that your pickles stay fresh and safe for longer storage.
Step 3: Pack the Jars with Flavor
At the bottom of each sterilized jar, place a few sprigs of fresh dill and a couple of garlic cloves. If using chilies for extra spice, add them now.
Step 4: Fill the Jars with Cucumbers
Pack the cucumber slices or spears tightly into the jars. The cucumbers should be packed in snugly, but not crushed. As you layer, add more dill, garlic, and optional chilies to ensure even distribution of flavor.
Step 5: Pour the Brine Over the Cucumbers
Once the pickling brine has completely cooled, carefully pour it into each jar, ensuring that the cucumbers are fully submerged. Leave about ½ inch of space at the top of the jar to allow for expansion.
Step 6: Seal and Store
Tightly seal the jars with sterilized lids and bands. Place them in the refrigerator and let them sit for at least 24 hours before eating. The longer they marinate, the stronger the flavor becomes.
Step 7: Enjoy Your Pickles!
Your homemade garlic dill pickles will be ready to eat after a day, but for the best flavor, wait 3-5 days before opening. Enjoy them on sandwiches, burgers, or straight from the jar for a deliciously tangy snack! 😋
How Long to Pickle Cucumbers?
The time required to pickle cucumbers depends on how intense you want the flavor to be. Quick pickles can be enjoyed in as little as 24 hours, but for the best taste and texture, it’s recommended to wait at least 3-5 days before eating.
Here’s a general guide for different pickling times:
- 24 hours – Lightly pickled with a mild tang.
- 3-5 days – Well-developed flavor with a nice balance of tang and crunch.
- 1-2 weeks – Deeply infused with garlic and dill flavors, offering the best taste.
The longer the cucumbers sit in the brine, the stronger and more flavorful they become. If you love bold, tangy pickles, allow them to marinate for at least a week before opening the jar.
How to Store Homemade Garlic Dill Pickles
Proper storage ensures that your pickles stay fresh, crisp, and flavorful. Since these are refrigerator pickles, they don’t require canning and must be stored in the fridge.
Refrigerator Storage
- Store sealed jars in the refrigerator for up to 2 months.
- Keep the cucumbers fully submerged in the brine to maintain their flavor and crispness.
- Use clean utensils when removing pickles to prevent contamination.
Freezing Pickles? Not Recommended!
Pickles do not freeze well, as the cucumbers will lose their crisp texture and become mushy. For the best experience, store them in the fridge and consume within 2 months.
Tips for the Best Homemade Pickles
Want the crunchiest, most flavorful garlic dill pickles? Follow these tips for perfect results every time!
✔ Use Fresh, Firm Cucumbers – Soft or overripe cucumbers will not stay crisp. Pickling cucumbers (like Kirby cucumbers) work best for crunchy pickles.
✔ Slice or Leave Whole – Whole cucumbers take longer to pickle but stay extra crisp, while slices or spears absorb flavor faster.
✔ Don’t Skip the Salt – Kosher salt helps draw out moisture, keeping the pickles crunchy. Do not substitute with table salt, as it may contain anti-caking agents that affect the brine.
✔ Let the Brine Cool Before Pouring – Pouring hot brine over cucumbers can make them soft. Always let it cool to room temperature before adding it to the jars.
✔ Add a Grape Leaf for Extra Crunch – If available, adding a grape leaf to each jar helps keep pickles crispy by preventing enzyme breakdown.
✔ Experiment with Flavors – Love a little spice? Add more chilies. Want a hint of sweetness? Increase the sugar slightly. Customize your pickles to match your taste!
Print
Homemade Garlic Dill Pickles
- Total Time: 24 hours (best after 3-5 days
- Yield: 4-6 jars 1x
Description
These Homemade Garlic Dill Pickles are crisp, tangy, and packed with bold garlic and dill flavors. They’re quick and easy to make, requiring only fresh cucumbers, garlic, dill, and a simple brine. Whether you enjoy them as a snack, on burgers, or alongside sandwiches, these pickles will quickly become a household favorite!
Ingredients
- 3 cups water 💧
- 3/4 cup white vinegar 🍶
- 3 tablespoons white sugar 🍚
- 2 tablespoons kosher salt 🧂
- 2 tablespoons pickling spice 🌿
- Bunch of fresh dill 🌱
- 6–8 garlic cloves 🧄
- 4–6 cucumbers, sliced into spears or rounds 🥒
- Optional: chilies for added heat 🌶️
Instructions
1️⃣ Prepare the Brine: In a medium saucepan, combine water, white vinegar, sugar, kosher salt, and pickling spice. Bring to a boil, stirring until the sugar and salt dissolve. Remove from heat and let it cool to room temperature.
2️⃣ Sterilize the Jars: Wash the jars with hot, soapy water or sterilize them by boiling in hot water for 10 minutes.
3️⃣ Layer the Flavor: Place fresh dill and garlic cloves at the bottom of each jar. If using chilies, add them now.
4️⃣ Pack the Cucumbers: Tightly pack the cucumber slices or spears into the jars, layering with extra dill and garlic as you go.
5️⃣ Pour the Brine: Once cooled, pour the brine over the cucumbers, ensuring they are fully submerged. Leave ½ inch of space at the top of each jar.
6️⃣ Seal & Store: Tightly close the jars with sterilized lids and bands. Place in the refrigerator for at least 24 hours before consuming.
7️⃣ Enjoy! Your pickles will taste great after 1 day, but for the best flavor, let them sit for 3-5 days before eating
Notes
Crunchier Pickles Tip: Soak cucumbers in ice water for 30 minutes before pickling.
✔ For Spicy Pickles: Add extra chilies or a teaspoon of red pepper flakes.
✔ Shelf Life: Store in the refrigerator for up to 2 months.
- Prep Time: 15 minutes
Frequently Asked Questions About Homemade Garlic Dill Pickles
1. How Do I Keep My Pickles Crunchy?
The key to crunchy pickles is choosing fresh, firm cucumbers and using the right pickling method. Here are some tips to maintain that satisfying crunch:
- Use pickling cucumbers like Kirby cucumbers, which are naturally firm and less watery.
- Soak cucumbers in ice water for 30 minutes before pickling to help retain their crisp texture.
- Do not pour hot brine directly onto cucumbers—let it cool to room temperature before adding.
- Adding a grape leaf to the jar can help maintain crunchiness, as it contains tannins that slow down the softening process.
2. Can I Use Table Salt Instead of Kosher Salt?
No, it’s best to use kosher salt or pickling salt for homemade pickles. Table salt contains anti-caking agents, which can make the brine cloudy and alter the flavor. If you must substitute, use an equal amount of sea salt.
3. How Long Do These Pickles Last in the Refrigerator?
Homemade refrigerator pickles stay fresh for up to 2 months when stored properly. To extend their shelf life:
- Keep them refrigerated at all times.
- Ensure cucumbers are fully submerged in the brine to prevent spoilage.
- Always use clean utensils when taking pickles from the jar—never use your fingers!
If you notice a change in smell, color, or texture, discard the pickles immediately.
4. Can I Add Other Vegetables to This Recipe?
Yes! This brine works well with many vegetables, giving them a deliciously tangy and garlicky flavor. Try pickling:
- Carrot sticks 🥕 – Slightly sweet with a crisp bite.
- Cauliflower florets 🥦 – Absorb flavors well and add variety.
- Radishes 🔴 – Provide a peppery, slightly spicy kick.
- Green beans 🌿 – Make a great crunchy snack