
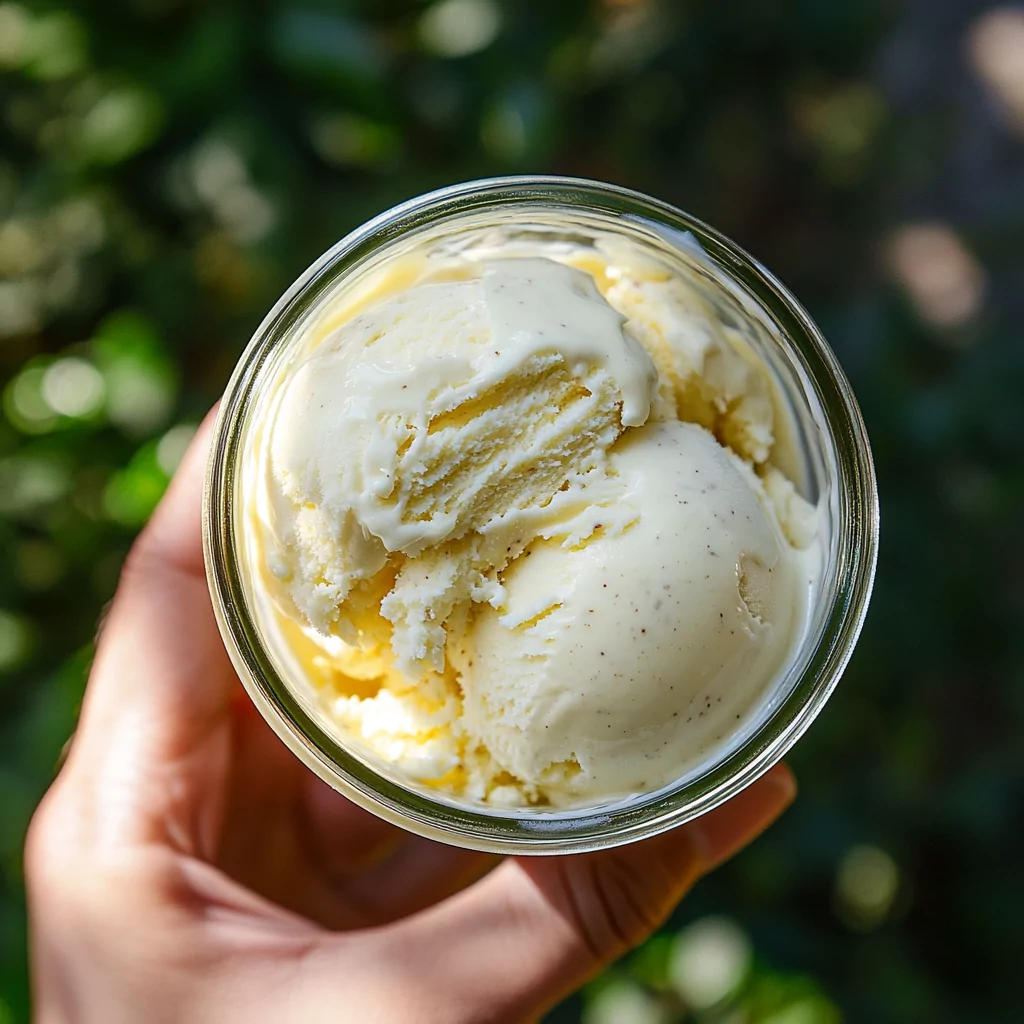
There’s nothing quite like the creamy, smooth taste of homemade vanilla ice cream. I love making this recipe because it’s simple, rich, and packed with natural vanilla flavor. Every spoonful melts in your mouth with a luscious texture that store-bought ice cream just can’t match. With only three ingredients—eggs, evaporated milk, and vanilla extract—you can create a decadent frozen dessert right at home.
The Creamiest Homemade Vanilla Ice Cream
Making ice cream from scratch is a rewarding experience, especially when using high-quality ingredients. This vanilla homemade ice cream is rich, smooth, and incredibly easy to prepare. The combination of eggs and evaporated milk creates a custard-like base that results in an ultra-creamy texture. The addition of vanilla extract enhances the flavor, giving it that classic, comforting taste we all love.
One of the best things about this recipe is its versatility. Whether you enjoy it on its own or as a base for toppings like chocolate sauce, fresh berries, or crunchy nuts, this ice cream is a perfect treat for any occasion. Plus, since it’s homemade, you can control the ingredients, ensuring a natural and preservative-free dessert.
Ingredients for Vanilla Homemade Ice Cream
To make this rich and creamy vanilla homemade ice cream, you’ll need just three simple ingredients. Each one plays a key role in creating the perfect texture and flavor.
- Eggs 🥚 – The eggs help create a smooth and creamy texture, making the ice cream rich and velvety. Beating them well ensures a light and airy consistency.
- Evaporated Milk 🥛 – This provides a thick, creamy base with a slight caramelized flavor, giving the ice cream a deep richness without being too heavy.
- Vanilla Extract 🌿 – The star ingredient! High-quality vanilla extract enhances the flavor, adding warmth and depth to the ice cream.
How to Make Vanilla Homemade Ice Cream
This recipe is incredibly easy to follow, and with just a few steps, you’ll have a batch of smooth, creamy vanilla ice cream ready to enjoy!
Step 1: Beat the Eggs
Start by cracking the eggs into a mixing bowl. Using a hand mixer or whisk, beat them until they become light, fluffy, and slightly pale in color. This step helps create a creamy consistency and ensures a smooth final texture.
Step 2: Add the Evaporated Milk
Gradually pour in the evaporated milk while continuing to mix. This step ensures the eggs and milk blend smoothly, preventing any lumps. Stir well until fully combined.
Step 3: Mix in the Vanilla Extract
Add the vanilla extract and stir until it’s evenly distributed throughout the mixture. The vanilla enhances the ice cream’s flavor, making it rich and aromatic.
Step 4: Churn the Ice Cream
Pour the mixture into an ice cream maker and churn according to the manufacturer’s instructions. This step aerates the mixture, giving the ice cream its signature light and creamy texture.
Step 5: Freeze for Perfect Consistency
Once the ice cream reaches a soft-serve consistency, transfer it to a container. Cover and freeze for at least a few hours until it firms up. This allows the flavors to develop fully and the texture to become smooth and scoopable.
Step 6: Serve and Enjoy! 🍦
Scoop out your homemade vanilla ice cream into bowls or cones. Serve it as is, or top it with chocolate sauce, fruit, or nuts for extra indulgence. Enjoy every creamy bite!
How Long to Churn and Freeze Vanilla Ice Cream?
The time it takes to churn and freeze homemade vanilla ice cream depends on your ice cream maker and the consistency you prefer. Here’s a general guideline to ensure the perfect texture:
- Churning Time – Most ice cream makers take 20 to 30 minutes to churn the mixture into a soft-serve consistency. If your ice cream maker requires pre-freezing the bowl, make sure it’s frozen solid before starting.
- Freezing Time – Once churned, transfer the ice cream to an airtight container and freeze for at least 3 to 4 hours for a firmer texture. If you prefer a softer consistency, you can enjoy it right after churning.
How to Store Homemade Vanilla Ice Cream
If you have leftovers (which is rare in my house!), storing your homemade ice cream properly will keep it fresh and delicious. Here’s how:
- Use an Airtight Container – Store the ice cream in a tightly sealed container to prevent ice crystals from forming. A shallow, wide container works best for even freezing.
- Press Plastic Wrap on the Surface – Before sealing the lid, press a layer of plastic wrap directly onto the ice cream’s surface. This prevents ice from forming on top, keeping it creamy.
- Freeze at the Right Temperature – Store the ice cream in the coldest part of your freezer (not the door) at -18°C (0°F) or lower. This helps maintain its texture and prevents melting.
Homemade ice cream is best enjoyed within 1 to 2 weeks for optimal taste and texture.
Tips for the Best Vanilla Ice Cream
Want to take your homemade ice cream to the next level? Here are some expert tips to make it even creamier and more flavorful:
- Use Fresh, High-Quality Ingredients – Since this recipe has only three ingredients, the quality makes a difference. Use farm-fresh eggs, premium vanilla extract, and full-fat evaporated milk for the best results.
- Chill the Mixture Before Churning – For smoother ice cream, refrigerate the mixture for at least 2 hours before churning. This step helps the ice cream freeze more evenly.
- Avoid Over-Churning – Churning too long can make the ice cream icy instead of creamy. Stop once it reaches a thick, soft-serve consistency.
- Experiment with Add-Ins – Customize your ice cream by folding in crushed cookies, chocolate chips, or fruit after churning for extra texture and flavor.
- Let it Soften Before Scooping – If the ice cream is too hard straight from the freezer, let it sit at room temperature for 5 to 10 minutes before scooping. This makes serving easier and enhances the creamy texture

Vanilla Homemade Ice Cream
- Total Time: 3-4 hours
- Yield: 4-6 servings 1x
Description
This Vanilla Homemade Ice Cream is a creamy, classic treat that’s incredibly easy to make with just three simple ingredients. The rich combination of eggs, evaporated milk, and vanilla extract creates a smooth, luscious texture that melts in your mouth. Whether you enjoy it on its own or with your favorite toppings, this homemade ice cream is the perfect dessert for any occasion!
Ingredients
- 6 eggs 🥚
- 2 cans evaporated milk 🥛
- 2 tablespoons vanilla extract 🌿
Instructions
- In a mixing bowl, beat the eggs until fluffy.
- Gradually add in the evaporated milk while continuing to mix until fully combined.
- Stir in the vanilla extract, ensuring the mixture is well blended.
- Pour the mixture into an ice cream maker and churn according to the manufacturer’s instructions.
- Once the ice cream reaches a soft-serve consistency, transfer it to a container. Cover and freeze for a few hours until firm.
- Scoop out and enjoy your creamy homemade vanilla ice cream!
Notes
- For an even creamier texture, chill the mixture for 2 hours before churning.
- Add-ins like chocolate chips, nuts, or caramel sauce can be mixed in after churning for extra flavor.
- Store in an airtight container in the freezer for up to 2 weeks. Let it sit at room temperature for 5 minutes before scooping for the best texture
- Prep Time: 10 minutes
- Cook Time: 20-30 minutes
Frequently Asked Questions About Homemade Vanilla Ice Cream
1. Can I Make This Ice Cream Without an Ice Cream Maker?
Yes! If you don’t have an ice cream maker, you can still make creamy vanilla ice cream using the no-churn method:
- After mixing the ingredients, pour the mixture into a shallow dish and freeze.
- Every 30 minutes, stir the mixture vigorously with a fork to break up ice crystals. Repeat this process for 3 to 4 hours until the ice cream is smooth and creamy.
- Once fully frozen, let it sit at room temperature for a few minutes before scooping.
2. How Can I Make My Ice Cream Extra Creamy?
To achieve a rich and creamy texture, follow these tips:
- Use high-quality eggs and evaporated milk for a naturally thick and smooth consistency.
- Make sure to chill the mixture for at least 2 hours before churning.
- Churn until it reaches a soft-serve texture, then freeze it in an airtight container.
- If you prefer an even richer taste, you can substitute half of the evaporated milk with heavy cream for a silkier texture.
3. Can I Use a Different Type of Milk?
Yes! While evaporated milk gives a creamy consistency, you can use alternatives:
- Whole Milk – Results in a slightly lighter texture but still creamy.
- Coconut Milk – A great dairy-free option with a subtle coconut flavor.
- Almond or Oat Milk – Can be used, but the texture may be less creamy.
If using non-dairy milk, make sure to add 1 tablespoon of cornstarch to help thicken the mixture.
4. What Are Some Fun Variations of This Recipe?
This homemade vanilla ice cream is a perfect base for many flavors. Here are some creative variations:
- Chocolate Chip Vanilla Ice Cream – Stir in chocolate chips after churning.
- Caramel Swirl Ice Cream – Drizzle caramel sauce into the mixture before freezing.
- Berry Vanilla Ice Cream – Fold in mashed strawberries, blueberries, or raspberries.
- Cookie Crumble Ice Cream – Add crushed cookies like Oreos or shortbread for extra crunch.