
There’s something truly magical about making homemade candy! Every time I whip up a batch of this Magic Candy, I feel like a kid in a candy store—except this time, I’m the one creating the magic. With just a few simple ingredients and a little patience, you can turn sugar, butter, and syrup into vibrant, crunchy delights that sparkle like gemstones. Whether you’re making these for a party, as gifts, or just for fun, this recipe is bound to impress!
Homemade Candy with a Magical Twist
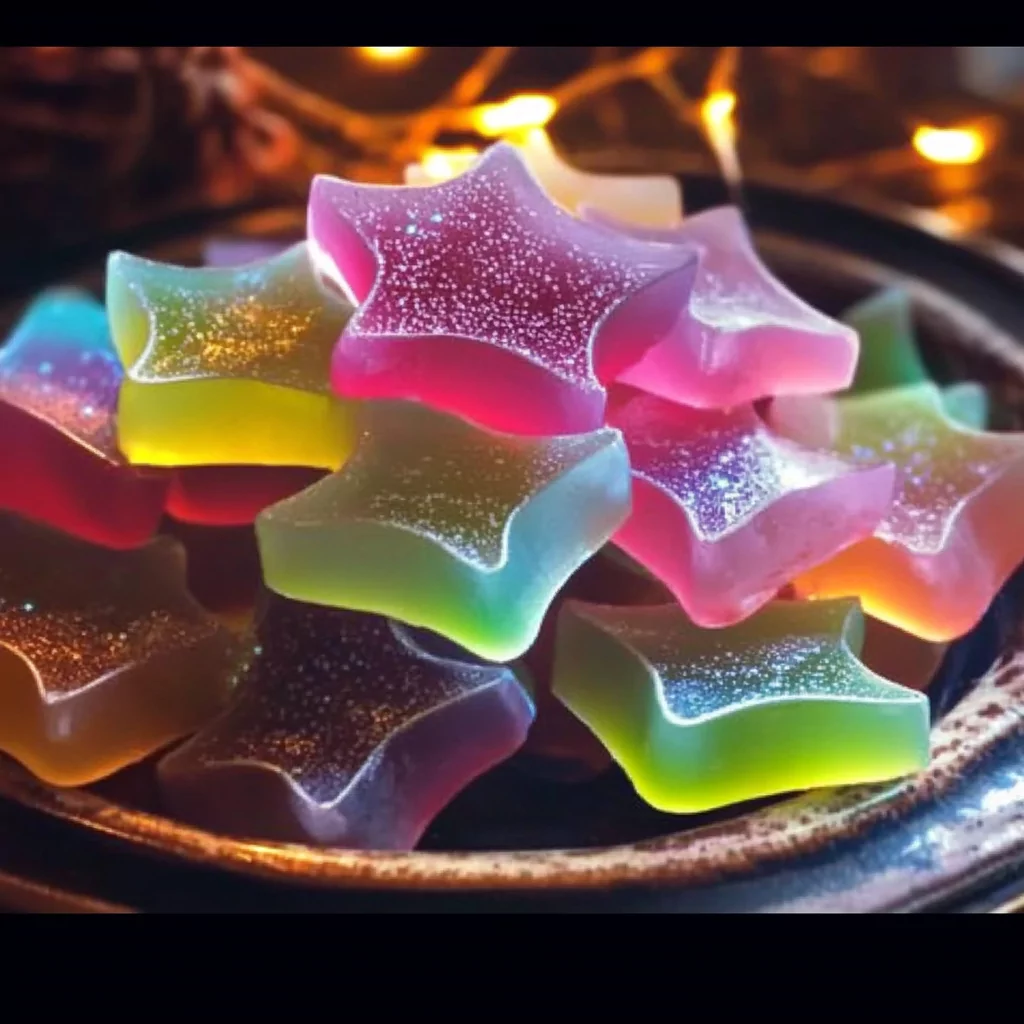
Candy-making might seem tricky, but trust me, this Magic Candy is surprisingly easy to prepare. With the rich sweetness of brown sugar, the smoothness of butter, and a touch of color to make it visually stunning, each bite is a delicious mix of caramelized flavors and crisp texture. The best part? You can shape them into adorable designs using cookie cutters, making each candy piece unique!
I love this recipe because it’s not just about taste—it’s about creativity. Whether you go for classic colors or mix things up with a rainbow effect, these candies are as fun to make as they are to eat. Plus, they make fantastic gifts or party favors. Just wrap them up in a little cellophane, and you’ve got a homemade treat that looks straight out of a candy shop!
If you’ve never made candy before, don’t worry—I’ll guide you through every step. With a little patience and a candy thermometer, you’ll be crafting your very own Magic Candy in no time. So, let’s get started and bring some sweetness into your kitchen!
Ingredients for Magic Candy 🍬
To create these dazzling Magic Candies, you’ll need just a handful of simple ingredients. Each component plays an important role in achieving the perfect texture and flavor.
Essential Ingredients
- 1/4 cup Butter 🧈 – Adds a rich, smooth flavor and helps prevent the candy from becoming too brittle.
- 3 drops Food Color (optional) 🌈 – Adds a fun and magical touch, making the candies more visually appealing. Choose your favorite color or mix different shades!
- 3/4 cup Brown Sugar 🍯 – Provides a deep caramel-like sweetness and contributes to the candy’s rich flavor.
- 2 teaspoons Baking Soda 🥄 – Reacts with the sugar and syrup to create a light, airy texture inside the candy.
- 1/2 cup Corn Syrup 🌽 – Ensures the candy maintains a smooth consistency while cooking and prevents crystallization.
How to Make Magic Candy
Making homemade candy requires patience, but the results are worth it! Follow these step-by-step instructions to ensure your Magic Candy turns out perfectly every time.
Step 1: Prepare the Cookie Cutters
Lightly grease the insides of 18 (2-inch) open metal cookie cutters with butter. This prevents the candy from sticking and makes it easier to remove once hardened.
Step 2: Prep the Baking Sheet
Place the greased cookie cutters onto a lightly buttered baking sheet. This setup will hold the hot candy mixture in shape while it cools. Set aside for later.
Step 3: Combine Ingredients
In a heavy 1-quart saucepan, add:
✔ 1/4 cup butter
✔ 3/4 cup brown sugar
✔ 1/2 cup corn syrup
✔ 2 teaspoons baking soda
Place the saucepan over medium heat, stirring occasionally to combine the ingredients.
Step 4: Bring to a Boil
Continue cooking for 6 to 7 minutes, stirring occasionally, until the mixture reaches a steady boil.
Step 5: Reduce Heat & Continue Cooking
Lower the heat and let it cook for another 20 minutes without stirring. This step is crucial, as it allows the sugar to caramelize and the candy to reach the right consistency.
✔ Use a candy thermometer and wait until the mixture reaches 280°F (138°C).
✔ If you don’t have a thermometer, test it by dropping a small amount into ice water—it should form a hard, brittle strand when ready.
Step 6: Add Food Coloring (Optional)
If you want colorful candies, stir in 3 drops of food coloring at this stage. Mix quickly for even color distribution.
Step 7: Pour into Cookie Cutters
Carefully pour about 1 tablespoon of the hot candy mixture into each greased cookie cutter. Work quickly, as the candy sets fast!
Step 8: Let the Candy Cool
Allow the candy to cool completely inside the cookie cutters. This process usually takes about 30 minutes. The candy will harden and take on a glossy, glass-like appearance.
Step 9: Remove from Cookie Cutters
Once fully cooled, gently push the candy out of the cookie cutters. If they stick, lightly tap the sides or warm the metal slightly to release them.
How Long to Cook Magic Candy 🍬
Cooking candy to the right temperature is crucial for achieving the perfect texture. The magic happens when the sugar mixture reaches 280°F (138°C)—also known as the soft-crack stage in candy-making. This ensures that your candy hardens properly while remaining slightly brittle instead of being too sticky or overly hard.
Here’s a breakdown of how long each cooking stage takes:
- Boiling Stage: After combining the butter, brown sugar, corn syrup, and baking soda, the mixture should boil for 6-7 minutes on medium heat.
- Caramelizing Stage: Once it boils, lower the heat and cook for another 20 minutes without stirring, allowing the mixture to reach the perfect consistency.
- Temperature Check: The ideal temperature is 280°F (138°C). Use a candy thermometer or perform the ice water test—drop a little mixture into ice water, and if it forms a hard, brittle strand, it’s ready.
💡 Tip: If you overcook the mixture beyond 300°F (149°C), the candy may become too dark and have a burnt taste. To avoid this, keep a close eye on the thermometer!
How to Store Magic Candy Properly
If you have leftover magic candy (or want to make some in advance), storing it correctly will keep it fresh and crunchy.
Refrigeration
- Store the candies in an airtight container at room temperature for up to 2 weeks.
- Avoid refrigerating, as moisture can cause the candy to become sticky.
Freezing Option
- Although not necessary, you can freeze the candy if needed.
- Wrap each piece individually in wax paper to prevent sticking.
- Store in an airtight container in the freezer for up to 1 month.
- When ready to enjoy, let the candy come to room temperature before unwrapping to prevent condensation.
Tips for Perfect Magic Candy
Making candy can be tricky, but these tips will help ensure success every time!
✔ Use a Candy Thermometer – This is the best way to guarantee the right temperature for perfect texture.
✔ Grease Cookie Cutters Well – Lightly buttering them makes it easier to release the hardened candy.
✔ Work Quickly – Once the candy reaches 280°F, pour it fast before it hardens in the saucepan.
✔ Experiment with Colors – Try mixing different food colors for a swirled effect or layering multiple colors in each candy.
✔ Avoid Humid Conditions – Sugar absorbs moisture, so making candy on a humid day can cause it to become sticky.
By following these steps, you’ll have flawless Magic Candy every time! 🍬✨
Print
Magic Candy
- Total Time: 35 minutes
- Yield: 18 pieces 1x
Description
This Magic Candy is a fun and delicious homemade treat with a crunchy, caramelized texture and a vibrant, colorful look. Made with just a few simple ingredients, these candies are easy to shape using cookie cutters, making them perfect for gifts, party favors, or a sweet snack.
Ingredients
- 1/4 cup butter 🧈
- 3 drops food color (optional) 🌈
- 3/4 cup brown sugar 🍯
- 2 teaspoons baking soda 🥄
- 1/2 cup corn syrup 🌽
Instructions
1️⃣ Prepare the Cookie Cutters:
- Lightly grease the insides of 18 (2-inch) metal cookie cutters with butter.
- Place them onto a lightly buttered baking sheet and set aside.
2️⃣ Cook the Candy Mixture:
- In a heavy 1-quart saucepan, combine butter, brown sugar, corn syrup, and baking soda.
- Cook over medium heat, stirring occasionally, until the mixture comes to a boil (about 6-7 minutes).
- Reduce the heat to low and let it cook for another 20 minutes without stirring.
3️⃣ Check the Temperature:
- Use a candy thermometer to ensure the mixture reaches 280°F (138°C).
- If you don’t have a thermometer, drop a small amount into ice water—it should form a hard, brittle strand when ready.
4️⃣ Add Color & Pour into Cutters:
- Stir in 3 drops of food coloring if using.
- Carefully pour 1 tablespoon of the hot candy mixture into each cookie cutter.
5️⃣ Let Cool & Remove Candy:
- Allow the candy to cool completely before attempting to remove it.
- Once hardened, carefully push the candy out of the cookie cutters.
Notes
✔ For added flavor, stir in a few drops of vanilla or fruit extract after cooking.
✔ Avoid humid conditions as they can make the candy sticky.
✔ For easier removal, ensure cookie cutters are well-greased before pouring the candy.
✔ Experiment with colors to create multi-colored or layered effects!
- Prep Time: 10 minutes
- Cook Time: 25 minutes
Frequently Asked Questions About Magic Candy 🍬
1. Why did my magic candy turn out too soft or sticky?
If your candy is too soft or sticky, it likely didn’t reach the correct temperature. Magic Candy needs to hit 280°F (138°C) to achieve the right texture. If the mixture is undercooked, it won’t harden properly. Use a candy thermometer or perform the ice water test—drop a small amount of the mixture into ice water; if it forms a hard, brittle strand, it’s ready.
2. Can I use different shapes of cookie cutters for my candy?
Yes! Using different cookie cutter shapes is a fun way to customize your candy. Just make sure to grease them well with butter to prevent the candy from sticking. Simple shapes like stars, hearts, and circles work best because they make it easier to remove the hardened candy.
3. How can I make my magic candy more flavorful?
To enhance the flavor of your magic candy, try adding:
✔ Vanilla extract – Stir in 1 teaspoon after removing the mixture from heat.
✔ Fruit extracts – Add flavors like cherry, lemon, or orange for a fruity twist.
✔ Cinnamon or spice – A pinch of cinnamon or nutmeg can add warmth to your candy.
Just remember to add any extracts after cooking to avoid burning off the flavor!
4. What should I do if my candy sticks to the cookie cutters?
If your candy is stuck in the cookie cutters, try these tricks:
✔ Gently tap the cutter on a hard surface to loosen the candy.
✔ Warm the sides of the cutter slightly by holding it between your hands or placing it in a warm spot for a few seconds.
✔ Use a butter knife to carefully push the candy out without breaking it.
Properly greasing the cookie cutters before pouring the candy will also help prevent sticking.
Now that you have all the answers, you’re ready to make perfect Magic Candy every time!